
Last updated November 2, 2026
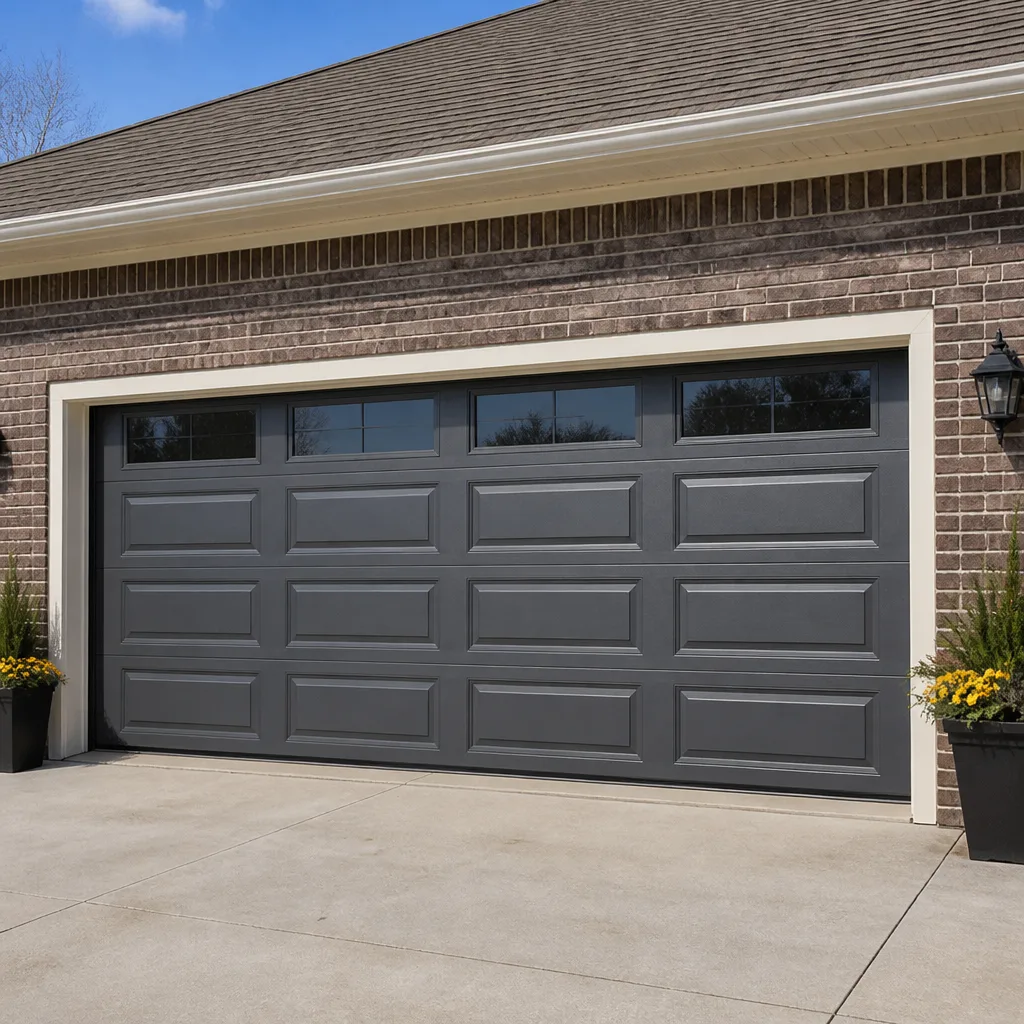 Raised-panel steel
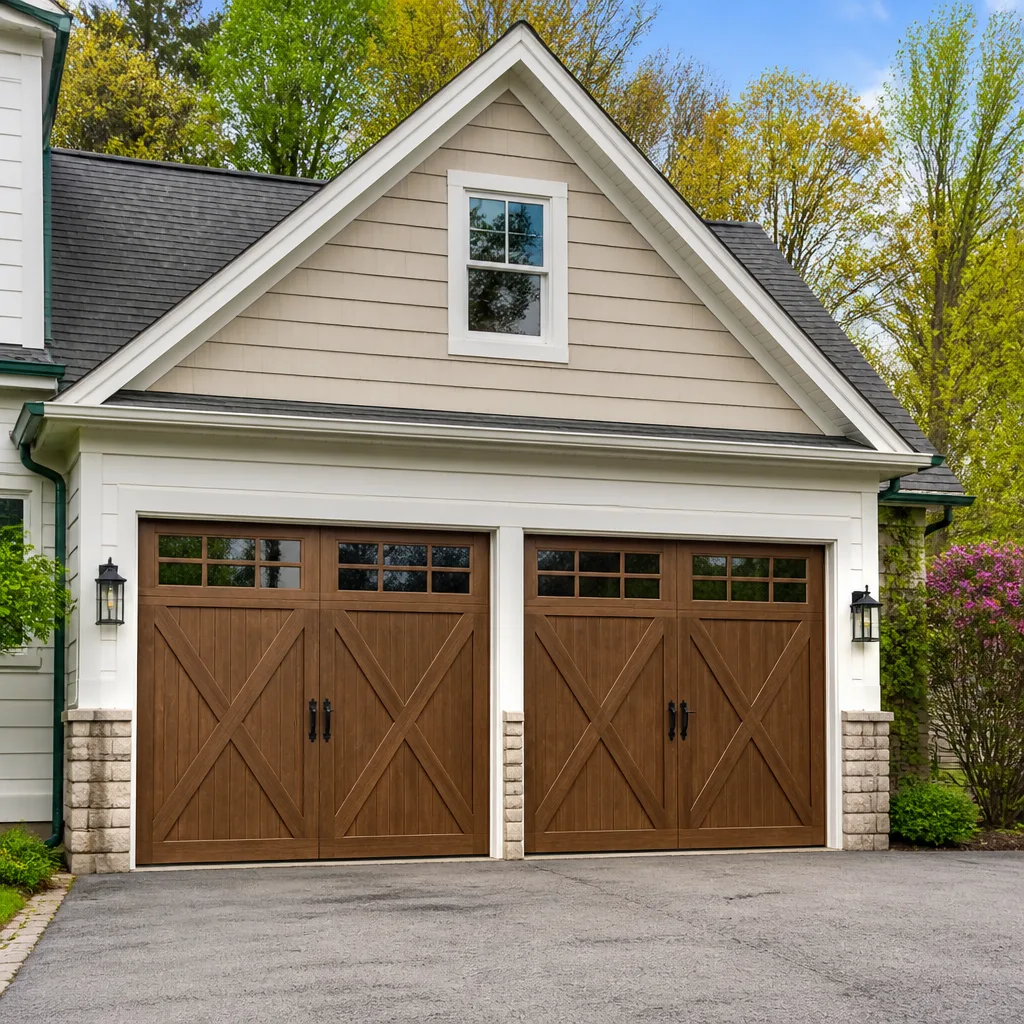 Carriage house
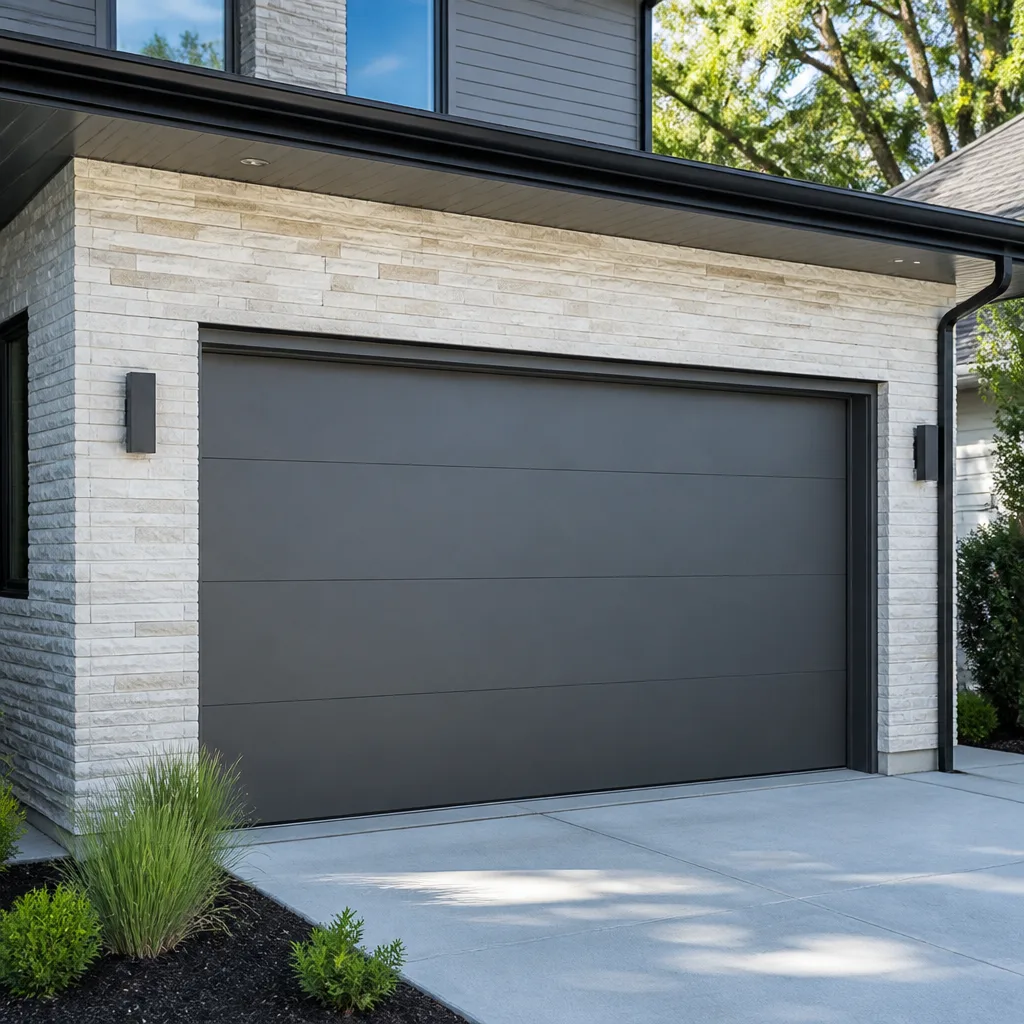 Modern flush
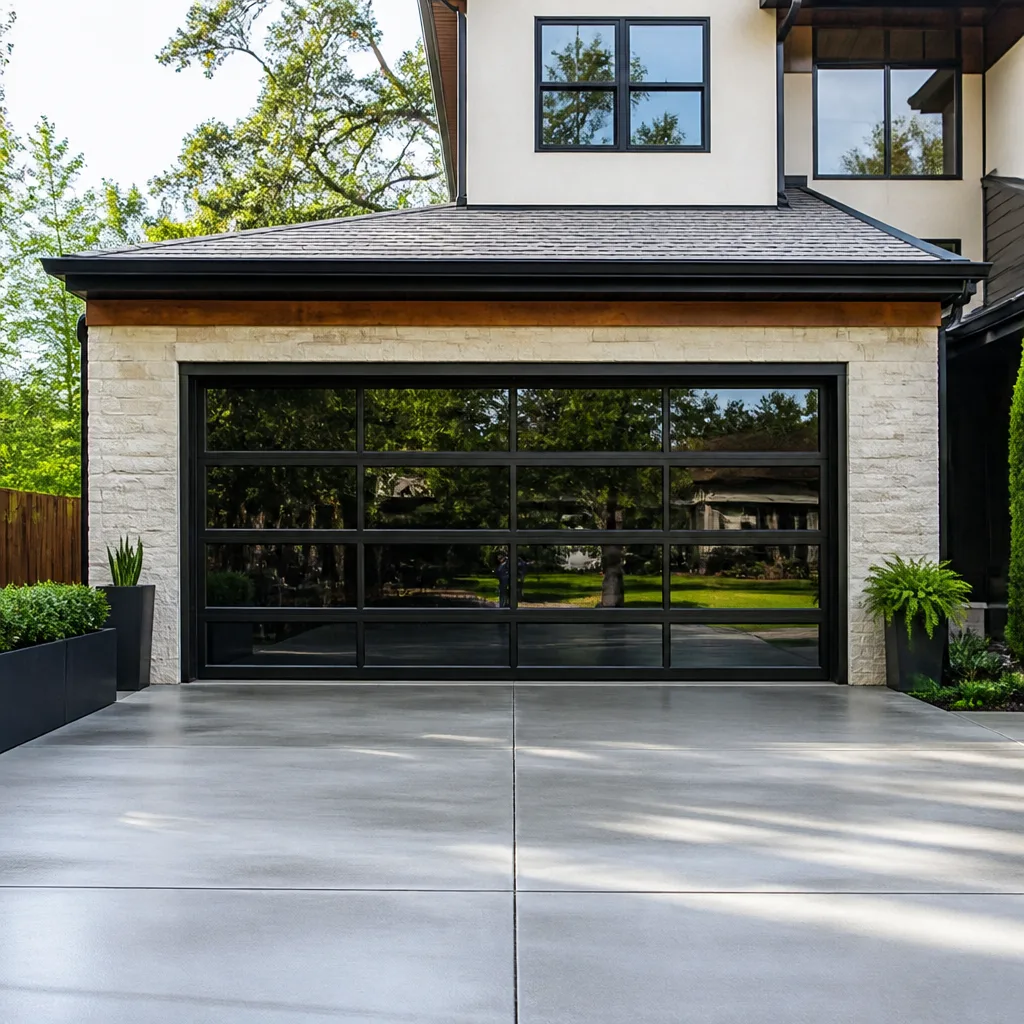 Full-view glass
 LiftMaster openers
 Chamberlain openers
Full 25-point door and opener safety check with every visit - springs, cables, rollers, tracks, and your LiftMaster or Chamberlain opener included
You get a price before we start. It does not change when the truck arrives.
Get your free estimateGarage Door Repair Troubleshooting: Common Problems and How to Fix Them
Your garage door opener has been flashing an error code at you for weeks. Most homeowners in Mira Mesa ignore it entirely, assuming the blinking light is just a quirk. But LiftMaster, Chamberlain, and Genie all encode the exact failure in that blink pattern, giving you a precise diagnosis before a technician even arrives. This guide teaches you to read those signals, think through the door’s behavior sequence, and know which fixes are safe to handle yourself and which ones call for our Garage Door Repair services. We’ll walk through the diagnostic logic our team uses every day, from spring failures to photo-eye faults, so you can make a smart decision fast.
Styles & brands we work with
- Raised-panel steel
- Carriage house
- Modern flush
- Full-view glass
- LiftMaster openers
- Chamberlain openers
Quick Answer
Garage door repair troubleshooting starts with reading the door’s behavior sequence, not just Googling the symptom. A door that won’t leave the ground points to springs, cables, or the opener’s force settings; a door that reverses halfway up usually means a travel-limit or force-limit calibration issue; a door that completes its cycle but doesn’t seal points to track alignment or cable tension. Check your opener’s diagnostic blink codes first, inspect the obvious mechanical parts without touching high-tension components, and call a garage door specialist when springs or cables are involved.
Table of Contents
- Reading Your Opener’s Diagnostic Codes: LiftMaster, Chamberlain, and Genie
- The Behavioral Decision Tree: Diagnosing by When the Failure Happens
- Door Won’t Start: The Most Common Culprits
- Door Starts Then Stops or Reverses Mid-Cycle
- Door Completes the Cycle But Doesn’t Seal or Sit Right
- The Loud Bang Scenario: Cable Slack, Drum Unwinding, and Spring Failure
- Photo-Eye Troubleshooting: Intermittent vs. Consistent Failures
- Common Mistakes to Avoid
- When to Call a Professional
- Frequently Asked Questions
- The Bottom Line
Reading Your Opener’s Diagnostic Codes: LiftMaster, Chamberlain, and Genie
Most garage door openers built in the last 15 years have a built-in diagnostic system. The main light or a dedicated LED flashes in a specific pattern to tell you precisely what failed. LiftMaster and Chamberlain units, which share the same parent company and an identical code structure, use a series of up-down flashes. The number of flashes corresponds to a specific fault, and reading that pattern is the fastest way to narrow the problem before you touch anything.
Here’s what the flash counts mean on most LiftMaster and Chamberlain openers:
- 1 flash: The opener doesn’t see the door moving. This usually means a broken spring, a stripped gear, or a disengaged trolley. The motor runs, but the door stays put.
- 2 flashes: The door won’t close. The photo-eye sensors are misaligned, blocked, or have a wiring fault.
- 3 flashes: A wiring problem in the wall control or the safety circuits. The opener thinks a wire is shorted or disconnected.
- 4 flashes: The safety sensors are slightly misaligned or their lenses are dirty. This is the intermittent failure pattern.
- 5 flashes: The motor has overheated. This happens after repeated cycles in a short period, common when a door is binding and the opener keeps working against resistance.
- 6 flashes: The door won’t move. The travel limits are set wrong, or the door is manually locked, or something is physically blocking the track.
- 7 flashes: The opener won’t stop or start properly. This usually signals a logic board failure or a wiring issue at the motor.
- 8 flashes: The force setting is too high or too low. The opener senses the door is fighting it, which often traces back to a spring problem making the door abnormally heavy.
- 9 flashes: The safety sensors are in a hard fault state. Unlike the 2-flash pattern, this means the sensors are not just misaligned but have failed electrically.
- 10 flashes: The door won’t respond to remote controls. This points to a receiver logic issue, a dead remote battery, or a pairing problem.
Genie openers use a different system. Instead of counting flashes from the main light, many Genie units have a dedicated red or green LED on the powerhead that blinks in a repeating sequence. A Genie with a solid red light and no movement typically indicates a wiring or sensor problem. A red light that blinks twice and pauses means the door traveled too far or hit an obstruction. Genie’s Safe-T-Beam system, which is Genie’s branded photo-eye setup, has its own indicator: a blinking red light on the sensor itself means alignment is off, while a blinking green light means the sensor is receiving power but not seeing its partner.
We work on LiftMaster, Chamberlain, and Genie openers every week in Mira Mesa. The diagnostic codes are consistent across models from the last decade, so even if your opener is older, the flash pattern still applies. If you’re seeing a code you don’t recognize, check out our Garage Door Warning Signs: A Mira Mesa Homeowner’s Reference Guide or call a specialist who knows these brands cold to save you an hour of guessing.
The Behavioral Decision Tree: Diagnosing by When the Failure Happens
Here’s the diagnostic logic most homeowners skip: the point in the door’s cycle where the failure happens tells you more than the symptom itself. A door that won’t leave the ground, a door that reverses at chest height, and a door that completes its travel but leaves a gap at the bottom are three completely different mechanical situations. They share a symptom – “the door doesn’t work right” – but they point to different components.
Think of it as three behavioral categories:
Category 1: The door won’t start. The opener hums or clicks, but the door doesn’t move, or the opener is completely silent. This narrows the cause to the power supply, the opener’s drive mechanism, the trolley engagement, or the springs and cables that balance the door’s weight. In Mira Mesa garages, we see this most often after a spring snaps overnight, leaving the door too heavy for the opener to lift.
Category 2: The door starts, then stops or reverses. The opener begins the cycle normally, but the door stops partway or reverses to the open position. This almost always points to a force-limit or travel-limit calibration issue, a photo-eye fault, or a binding track. The opener thinks it hit an obstruction and backs off. The good news: this category is the most fixable without major parts replacement.
Category 3: The door completes the cycle but doesn’t seal or sit right. The door opens and closes, but it stops an inch short of the floor, sits crooked, or leaves a visible gap on one side. This means the door’s travel limits, cable tension, or track alignment are off. The opener is doing its job; the door itself is out of adjustment.
Each category narrows the possible causes to two or three components. That’s the entire game. When you stop treating “garage door not working” as one problem and start asking “when exactly in the cycle does it fail,” you’re thinking like a technician.
For homeowners in Mira Mesa who want a professional diagnosis instead of a DIY afternoon, Garage Door Repair Mira Mesa home covers the service area with technicians who diagnose by behavior, not by guesswork.
Door Won’t Start: The Most Common Culprits
When the door refuses to move from the closed position, the diagnostic path starts with the simplest question: does the opener make any noise at all? A completely silent opener points to power, the wall control, or the logic board. A humming or grinding opener points to the drive mechanism, the springs, or the trolley.
Here’s the step-by-step we walk through on every “won’t start” call in Mira Mesa:
- Check the power source. Is the opener plugged in? Is the outlet live? A tripped GFCI outlet or a blown circuit breaker accounts for more no-start calls than any mechanical failure. Test the outlet with a lamp or a phone charger before you do anything else.
- Check the manual release. If someone pulled the red emergency release cord, the trolley is disengaged from the carriage. The opener will run, but the door stays in place. Reattach the trolley by pulling the release cord toward the door and cycling the opener until it clicks back into place. On most LiftMaster and Chamberlain units, pulling the cord again re-engages the trolley automatically.
- Listen to the motor. A hum that lasts a second or two, then stops, tells you the motor is getting power but can’t move the door. This could mean a broken spring, a seized roller, or a stripped gear inside the opener. On a Wayne Dalton door with a TorqueMaster spring system, a snapped internal spring often produces exactly this hum, because the spring hides inside the torsion tube and doesn’t give the visual warning of a broken coil on the shaft.
- Check the door balance. Pull the manual release cord to disconnect the opener, then lift the door by hand. A properly balanced door stays at waist height with light finger pressure. If the door feels heavy, lunges down, or slams shut, the springs are failing or already broken. This is a safety-critical finding: a door that heavy is dangerous to operate manually, and the opener should not be used until the springs are replaced.
- Inspect the gears. On LiftMaster and Chamberlain chain-drive openers, the plastic drive gear inside the powerhead strips over time. If you hear the motor spin but the chain doesn’t move, the gear has failed. This is a common replacement job, and the opener usually doesn’t need to be replaced entirely.
Mira Mesa homeowners deal with coastal temperature swings that accelerate spring fatigue. A spring that was installed five or six years ago is approaching the end of its rated life, and a no-start condition is often the first sign. We replace broken springs same-day for homes throughout the Mira Mesa area, because a door that won’t open is a car trapped in the garage, not just an inconvenience.
Door Starts Then Stops or Reverses Mid-Cycle
The door begins to open or close, travels a few inches or a few feet, then reverses. This behavior is the single most misdiagnosed garage door problem in Mira Mesa. Most homeowners assume the photo-eye sensors are the culprit. In our experience, the force-limit and travel-limit settings are just as often the real cause, and they’re easier to fix than most people realize.
Here’s the thing about force limits: your opener measures how hard the motor has to work to move the door. If the door encounters more resistance than the opener expects – because the springs have weakened, the track is binding, or the temperature has changed the door’s weight – the opener interprets the extra load as an obstruction. It reverses to prevent damage or injury. The safety system is doing its job. The issue is that the force limit needs recalibration to match the door’s current condition.
On LiftMaster and Chamberlain openers, the force adjustment is a dial or a button sequence on the back of the powerhead. Newer units with a digital display walk you through the setup menu. The process typically involves running the door through a full cycle while the opener learns the correct force profile. If the door still reverses after a recalibration, the springs are likely weak and the door is genuinely too heavy, which means the spring replacement is the real fix, not the sensor.
The photo-eye sensors, of course, are also a frequent cause of this category of failure. But before you assume a sensor fault, check these three things in order:
- Force limit recalibration. Follow the owner’s manual procedure for your specific opener brand. On most Craftsmand and LiftMaster models, holding the adjustment button for a full cycle teaches the opener the correct force. This takes five minutes and costs nothing.
- Travel limit adjustment. If the door reverses only when closing and stops a consistent distance from the floor, the down travel limit may be set too far. The opener thinks the door has hit the ground when it hasn’t, and it reverses. Adjust the down limit so the door stops exactly at floor level with the bottom seal compressed slightly.
- Photo-eye alignment check. Only after the force and travel limits are confirmed correct should you look at the sensors. A blinking red light on a LiftMaster sensor or a blinking light on a Genie Safe-T-Beam means misalignment. More on this in the photo-eye section below.
One more thing worth checking in this category: the tracks. A door that binds on one side because the track has been knocked out of alignment – common in Mira Mesa garages where bikes and storage bins crowd the doorway – will stop and reverse because the opener feels the increased drag. Run your hand along the track and look for dents, bends, or a visible pinch point.
If the door starts and stops but the problem only happens on cold mornings or after the door has been closed for a few days, the springs are the prime suspect. Springs lose tension gradually, and a door that behaves on warm afternoons but misbehaves on cold ones is telling you the balance is marginal. The fix is a spring replacement or a tension adjustment, not a new opener. For a same-day spring replacement in Mira Mesa, Garage Door Repair in Mira Mesa keeps the most common spring sizes on the truck.
Door Completes the Cycle But Doesn’t Seal or Sit Right
This is the category of problem that sneaks up on homeowners. The door opens and closes, the opener sounds fine, but the door doesn’t sit flush against the floor. You see daylight under one corner. The bottom seal is compressed on the right side but floating on the left. The door looks slightly crooked in the opening.
The causes break down into three areas: travel limits, cable tension, and track alignment.
Travel limits: If the door stops before the bottom seal makes full contact with the floor, the down travel limit is set too high. Small adjustments make a big difference here. On most openers, including Craftsman and LiftMaster, the travel limit is a screw or digital setting. Turn the down limit a quarter turn at a time, run the door through a full cycle, and check the seal. Go slow – over-adjusting causes the door to press too hard into the floor and can warp the bottom panel or strain the opener.
Cable tension: The cables on each side of the door work as a pair. When one cable has more slack than the other – usually because the drum on the torsion shaft has slipped or the cable has stretched – the door lifts unevenly. One side travels slightly faster than the other, and the door sits crooked when fully closed. In a Mira Mesa garage with a Clopay or Amarr steel door, this often happens after years of daily cycles. The cable drums wear, and the cable seats settle. A technician can re-tension the cables and reset the drums, but this is not a DIY job: the torsion shaft holds the full spring tension, and working on the cables without proper winding bars and experience is genuinely dangerous.
Track alignment: The vertical tracks on either side of the door should be parallel and plumb. If one track has shifted – because a car bumper tapped it, or the concrete floor settled, or the mounting brackets loosened – the roller on that side hits resistance at a different height than the other side. The door closes, but it’s fighting itself, and the result is an uneven seal. A track alignment check involves measuring the gap between the track and the door at several points and adjusting the brackets. This is a job for a specialist with the right measurements and tools, especially on heavier wood-look doors from Raynor or Amarr that weigh more than standard steel panels.
In our service area, we see this “completes but doesn’t seal” problem most often in older Mira Mesa homes where the original garage door from the 1990s or early 2000s has never had its cables replaced. The fix is usually straightforward: re-tension the cables, reset the drums, and adjust the travel limit. Garage Door Installation in Mira Mesa is the natural next step when the door is old enough that cable replacement becomes a recurring annual event, and we’ll tell you honestly when repair no longer makes financial sense.
The Loud Bang Scenario: Cable Slack, Drum Unwinding, and Spring Failure
You hear a loud bang from the garage, like a gunshot or a car backfiring. You go out to check. The door is still closed, but the opener makes a grinding noise when you try to run it, or the door won’t move at all, or one side of the door lifts a few inches while the other side stays down.
This is the scenario that gets misattributed to the opener motor. Homeowners call us in Mira Mesa convinced their opener blew up. What actually happened in most cases is a torsion spring snapped, and the sudden release of stored energy made the bang. A garage door spring under full tension holds hundreds of pounds of counterbalance force. When the spring breaks, that energy releases instantly.
Here’s what happens next, in sequence:
- The spring snaps. On a standard torsion spring above the door, you’ll see a visible split in the coil. On a Wayne Dalton TorqueMaster system, the spring is inside a tube, so you won’t see the break, but the tube will feel loose and the door will suddenly feel very heavy.
- The cables go slack. With the spring’s counterbalance force gone, the cables that connect the drum to the bottom bracket lose their tension. The cable can jump the drum, wrap around the shaft, or drop out of the pulley entirely.
- The door becomes dangerous. A door with a broken spring weighs anywhere from 150 to 400 pounds depending on the model. The opener motor cannot lift that weight alone. Attempting to open the door manually is a serious injury risk.
- The opener strains or strips its gear. If you press the opener button after a spring break, the motor hums and strains against the dead weight. The plastic drive gear inside the opener may strip under the load. That’s why the post-bang diagnosis sometimes includes both a spring replacement and a drive gear replacement.
Here’s the critical safety point: do not try to fix this yourself. Torsion springs are under extreme tension even when broken – the remaining coils and the winding cone still hold stored force. Replacing a torsion spring requires winding bars of exactly the right diameter, knowledge of spring wire size and winding counts, and the physical experience to know when the spring is seated correctly. A mistake can launch a winding bar across the garage with lethal force. This is the single most dangerous repair in the garage door trade.
When you hear that bang, here’s what to do: unplug the opener to prevent accidental operation, don’t try to lift the door manually, don’t stand under the door, and call a garage door specialist. In Mira Mesa, we respond to spring failures as priority calls because a car trapped in the garage is a real disruption, not a cosmetic one.
Photo-Eye Troubleshooting: Intermittent vs. Consistent Failures
The photo-eye sensors are the small black boxes mounted on each side of the door, about six inches off the ground. One sends an invisible infrared beam, the other receives it. If the beam is broken, the opener refuses to close – a safety feature required by federal law since 1993.
The troubleshooting logic for photo-eyes comes down to one distinction: is the failure consistent or intermittent? That distinction tells you whether you’re dealing with a misalignment, a wiring fault, or a bad sensor.
Consistent failure: The door won’t close at all, every time, and the sensor shows a fault light. This points to a complete beam disruption. The causes, in order of likelihood:
- Something is physically blocking the beam. A broom handle, a bike tire, a stack of boxes, a spider web, a leaf. Look first. In Mira Mesa garages that double as storage units, this is the number one cause of “broken” sensors.
- The sensors are completely misaligned. Someone bumped the mounting bracket, or the door vibration over time pushed one sensor out of line. The beam misses the receiving lens entirely. Fix: loosen the mounting wing nut, adjust the sensor until the indicator light changes from blinking to solid, then retighten.
- A wire is cut or disconnected. Low-voltage wiring runs from the sensor to the opener. Rodents chew these wires, or the wire gets pinched by a ladder or storage bin. Check the wire path, especially near the door tracks where the wiring is most exposed.
- The sensor has failed electrically. If the indicator light is dark despite power at the circuit, the sensor itself is dead. These are cheap to replace – a pair of universal sensors runs $30 to $60 – but on Genie openers, you’ll need Genie-compatible Safe-T-Beam sensors, not generic ones.
Intermittent failure: The door closes most of the time, but occasionally reverses for no apparent reason. This is the more frustrating pattern, and it’s almost always a marginal alignment issue. Here’s the tolerance that matters: the beam is about the width of a pencil. The sending sensor has to hit the receiving lens dead center. If the alignment is just slightly off – a degree or two in any direction – the beam still reaches the receiver most of the time. But vibration, temperature changes, or sunlight hitting the lens at the wrong angle can cause a momentary signal loss. The opener sees that loss as a beam interruption and reverses.
The sunlight factor is significant in Mira Mesa. Our garages face west more often than not, and late-afternoon sun can flood the photo-eye lens with enough infrared light to wash out the signal. A sensor that works perfectly all day and then starts misbehaving at 4 p.m. in the summer is telling you the lens needs a sun shield or a slight angle adjustment. We fabricate small sheet-metal shades for this exact problem because generic sensor covers don’t block low-angle coastal sun.
The fix for intermittent failures is the same as consistent misalignment, with one addition: clean the lenses. A clean, dry cloth wipes away dust and insect residue that diffuses the beam. Then adjust the sensor alignment until you hear both sensors click into a solid-light state. On LiftMaster and Craftsman units, the sensor light turns solid green when aligned. On Genie units, the red light stops blinking and stays solid red when the beam is received.
If you’ve cleaned, aligned, and shielded the sensors and the intermittent reversal persists, call a specialist before assuming the sensors are bad. The force-limit issue from the earlier section produces exactly this same intermittent reversal pattern, and replacing the sensors won’t fix a miscalibrated force setting. Garage Door Opener Repair in Mira Mesa covers sensor replacement, force-limit recalibration, and full opener diagnostics for all major brands including LiftMaster, Chamberlain, Genie, and Craftsman.
Common Mistakes to Avoid
- Replacing the opener when the springs are the problem. A door that’s suddenly heavy, loud, or won’t lift often traces back to worn springs, not a dead opener. A new opener installed on a door with dying springs will fail early and waste your money. Check the door balance first – disconnect the opener and lift the door by hand. If it’s heavy, the springs need replacement, not the opener.
- Ignoring the diagnostic blink codes. The flashing light on your opener is not decorative. It’s the opener telling you exactly which component failed. Skipping the code and guessing wastes time and often sends you down the wrong path. Read the code, match it to the fault table, and you’ve cut the troubleshooting time in half.
- Continuing to operate a door with a broken spring. After a spring snaps, every cycle the opener performs strains the drive gear, stresses the remaining components, and risks a cable jumping the drum. The door can also fall unexpectedly if you try to lift it manually. Treat a broken spring as a stop-work condition, not something to work around.
- Adjusting springs without the right tools and experience. Torsion spring adjustment is not a wrench job. It requires winding bars of the correct diameter (typically 1/2 inch for residential doors), an understanding of the spring’s wire size and winding count, and the physical strength to control the spring under load. In Mira Mesa, we see the aftermath of DIY spring repairs: bent shafts, cracked drums, and at least one garage ceiling with a winding bar embedded in the drywall.
- Assuming the photo-eyes are always wrong. When a door reverses mid-cycle, homeowners reflexively blame the sensors. But a force-limit setting that’s too low, a travel-limit setting that’s too long, or a binding track produces the same symptom. Diagnose in this order: force limit, travel limit, track condition, then sensors.
- Lubricating the wrong parts. The track is not the lubrication point. Grease on the tracks attracts grit and creates binding. The correct points are the hinges, the rollers, the springs, and the bearing plates. Use a silicone or lithium spray, not WD-40, which washes away existing lubricant and leaves bare metal unprotected.
When to Call a Professional
You’ve read the diagnostic codes, checked the obvious causes, and the door still isn’t behaving. That’s the moment to pick up the phone rather than reach for the toolbox. A garage door is the largest moving object in your home, and the components under tension – springs, cables, drums, the bottom bracket – store enough energy to cause serious harm when mishandled.
Call a specialist when the spring is broken, when a cable has jumped the drum or gone slack, when the door is visibly out of balance, when the opener’s drive gear has stripped, or when you’ve followed the troubleshooting steps and the behavior still doesn’t match any known pattern. Also call if you see roller wear grooves in the hinges, if the door scrapes against the track, or if the bottom panel is cracked or dented – these are structural issues that affect the door’s weight and balance. For guidance on choosing the right pro, see How to Hire a Garage Door Contractor in Mira Mesa: A Step-by-Step Guide, then call (833) 620-4120 for a free estimate and we’ll tell you honestly whether repair or replacement makes sense.
Frequently Asked Questions
Garage door repair in Mira Mesa typically costs $180 to $340 for common fixes like spring replacement, cable repair, or sensor replacement. The exact price depends on the door’s make, the spring type, and whether the job requires one or two springs. Newer doors from Clopay, Amarr, Wayne Dalton, and Raynor use standardized parts that keep repair costs predictable. Our price is quoted and agreed before any work starts. Call (833) 620-4120 for a free estimate.
A garage door that reverses for no apparent reason is usually a force-limit or travel-limit calibration problem, not a sensor failure. The opener senses extra resistance and interprets it as an obstruction, triggering the reverse. Weaker springs from age make the door feel heavier, which throws off the force setting. Recalibrate the force limit, adjust the travel limit, and if the problem persists, check for a binding track or a marginal spring. If the springs are the issue, replace them before they snap entirely.
Most garage door repairs in Mira Mesa are same-day jobs. We keep common spring sizes, cables, rollers, and sensor parts on the truck, so a typical single-spring replacement or a photo-eye repair is finished in under two hours from arrival. Same-day availability depends on the day’s schedule, and emergency spring failures get priority because a broken spring traps a car in the garage. Call (833) 620-4120 early to secure a same-day window.
We work on eight major garage door and opener brands: LiftMaster, Chamberlain, Genie, Clopay, Amarr, Wayne Dalton, Craftsman, and Raynor. For more guides & resources, visit our blog. That brand coverage means we’re fluent in the specific parts, spring systems, and diagnostic codes each brand uses, not just the generic components. Whether your door is a steel Clopay panel or a wood-look Amarr, and whether your opener is a modern LiftMaster smart unit or an old Craftsman chain-drive, we know it cold.
Repair makes sense when the damage is isolated to wear parts – springs, cables, rollers, hinges, sensors – and the door panels themselves are sound. Replacement makes sense when the panels are cracked, dented, or rusted through, when the door is 20 or more years old and parts are becoming obsolete, or when you’re facing recurring cable or spring failures every few months. Repair or replace – we’ll tell you honestly which makes sense for your door and your budget. The estimate is free, and the price is fixed before work begins.
No. The price we quote is the price you pay, and it’s agreed before any work starts. If we find additional damage during the repair – a worn drum, a cracked hinge, a frayed cable – we’ll stop and show you the problem before recommending extra work. You approve every additional line item before we proceed. There’s no surprise invoice after the fact.
The Bottom Line
Garage door troubleshooting works when you stop chasing symptoms and start reading the door’s behavior sequence. The diagnostic blink codes on your LiftMaster, Chamberlain, or Genie opener give you the precise fault before you touch anything. The time in the cycle when the failure happens – won’t start, starts then stops, completes but doesn’t seal – narrows the cause to a handful of components. And knowing which fixes are safe to attempt and which require a specialist keeps both you and your door from harm. Springs and cables are never DIY territory. Sensors, travel limits, and force calibrations often are. When you’ve done the diagnosis and need a professional, one call covers the door, the opener, and the installation. That’s what we do, every day, in Mira Mesa.
Written by the team at Garage Door Repair Mira Mesa, serving Mira Mesa since 2012.
See the difference
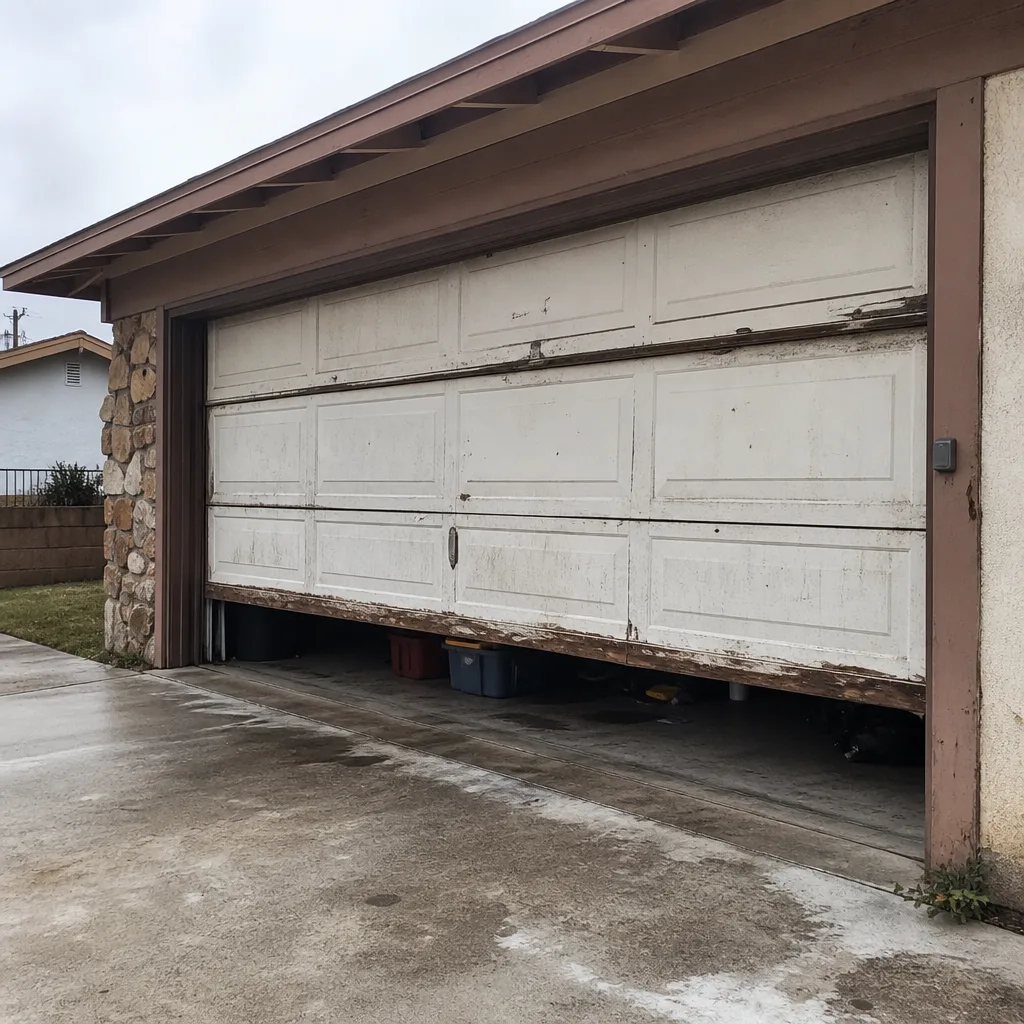 Before
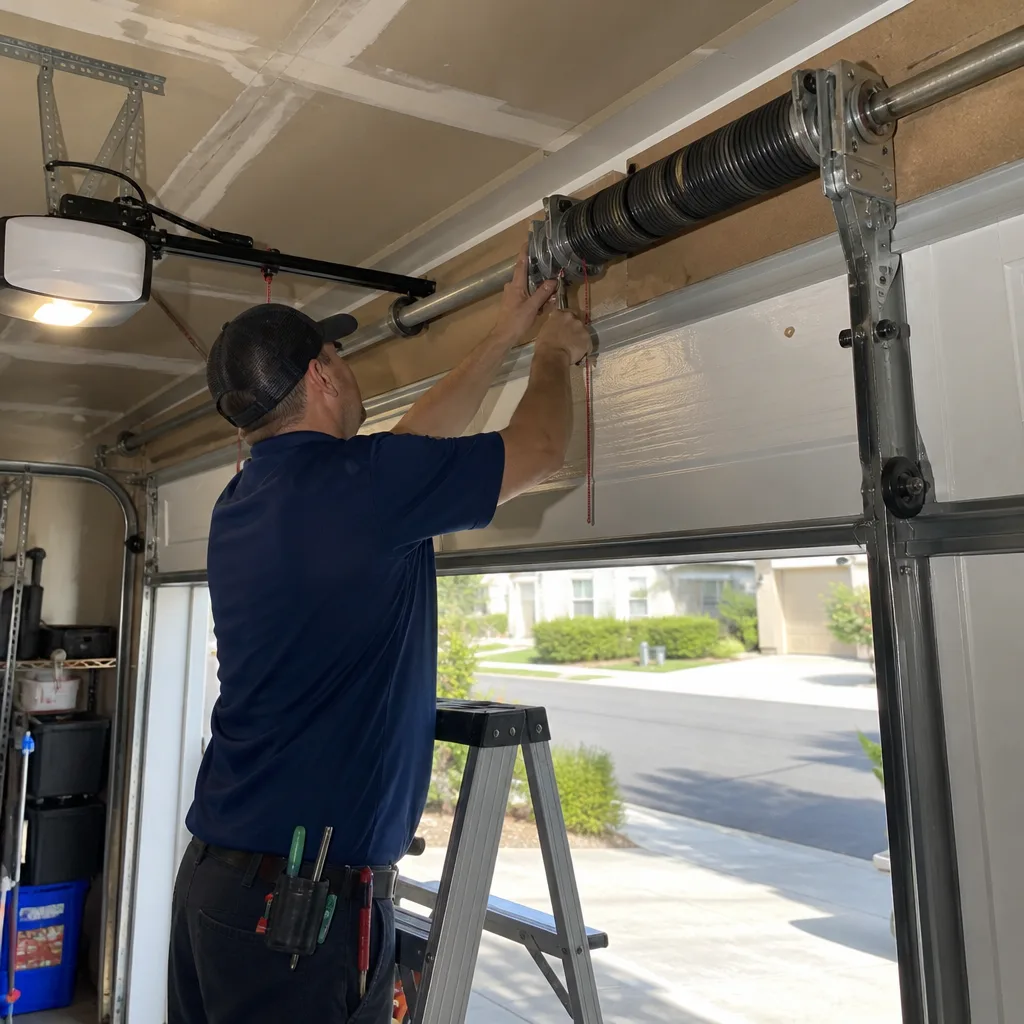 After
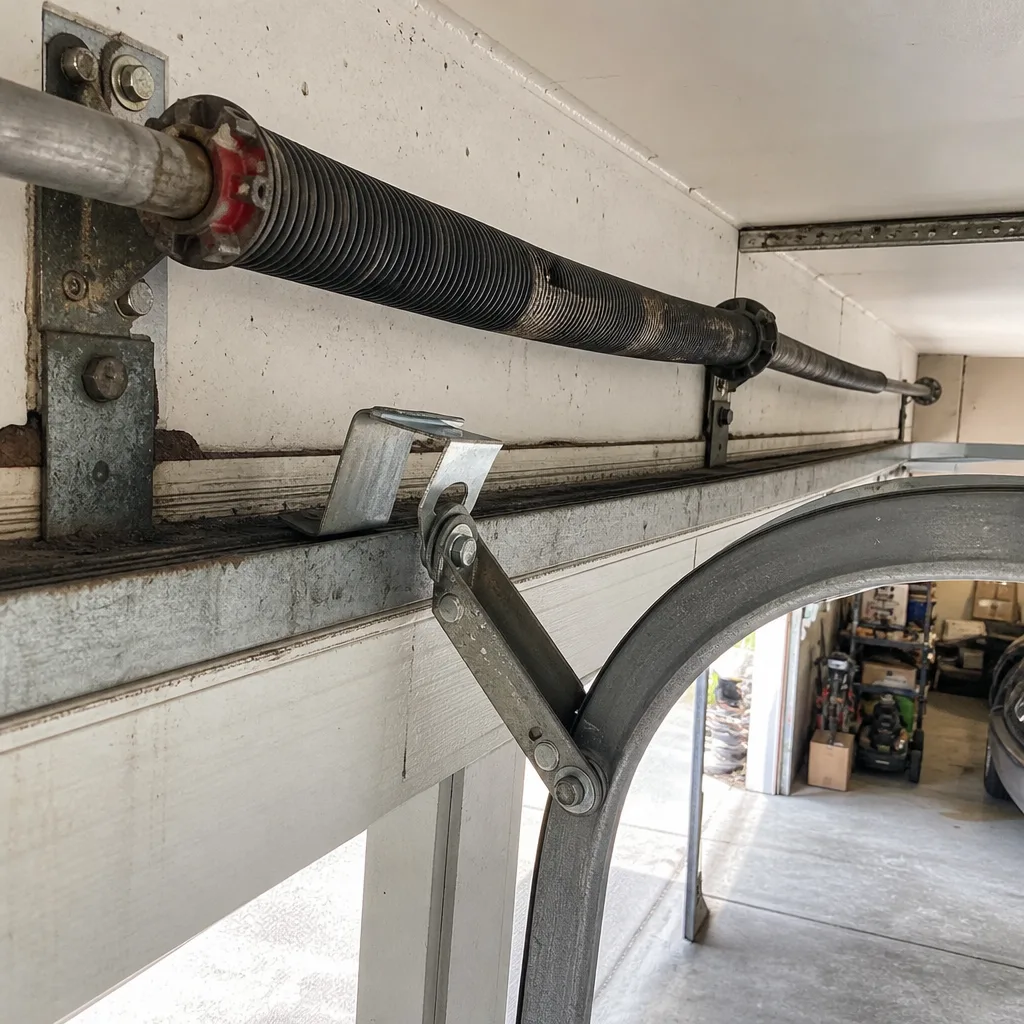 Before
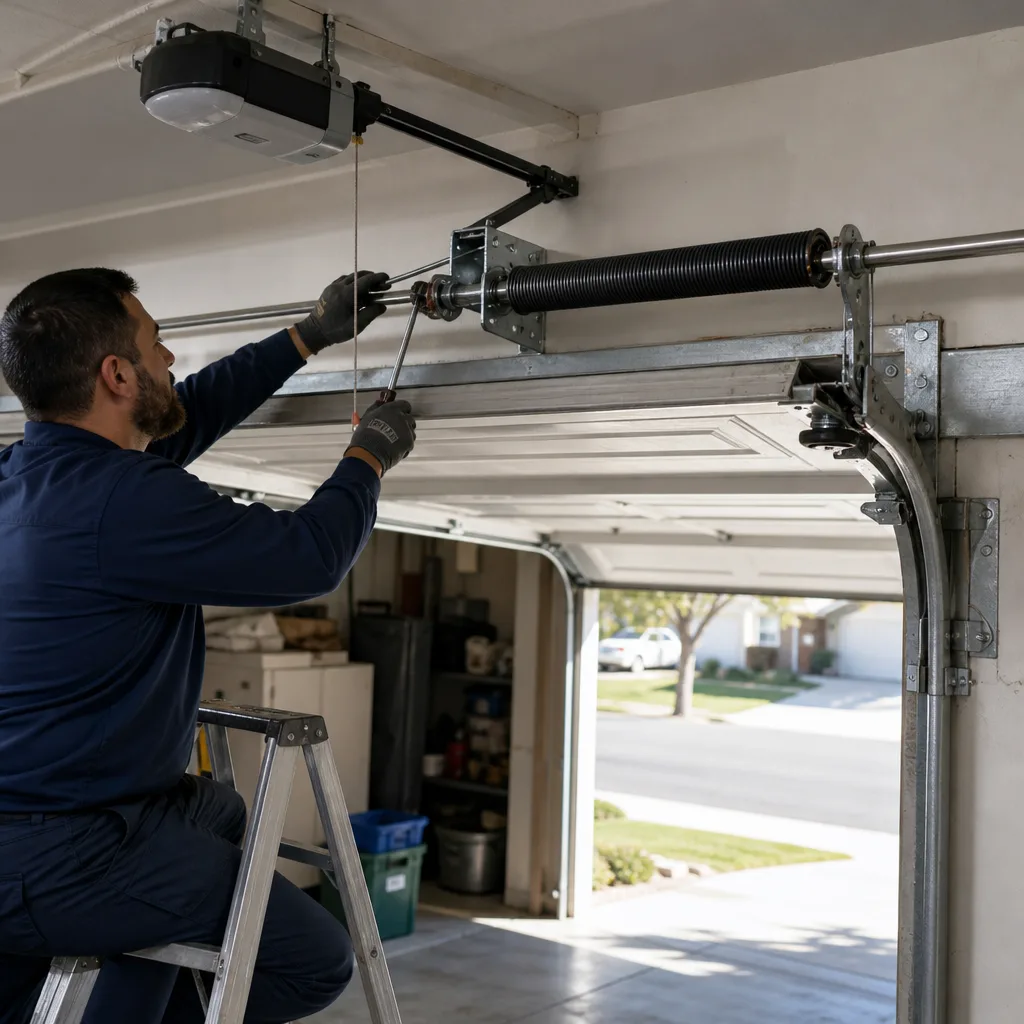 After
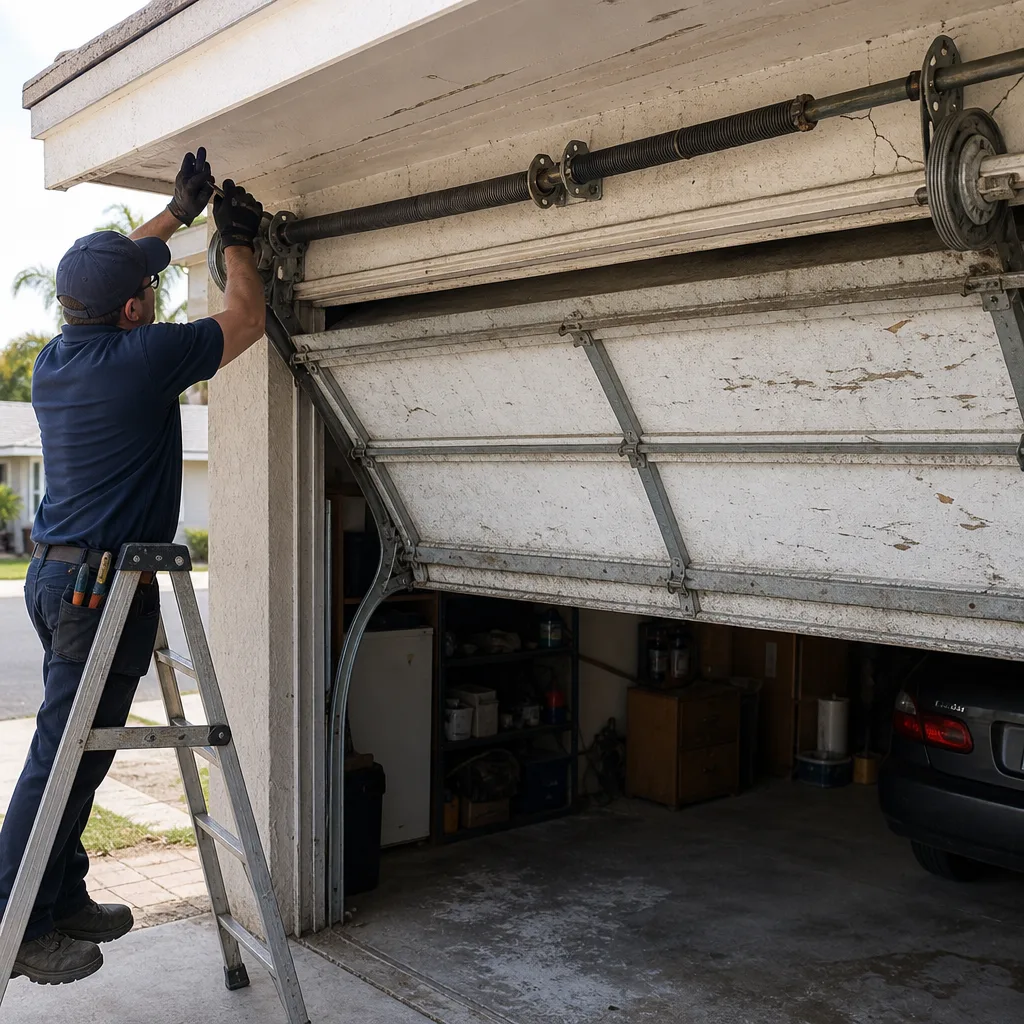 Before
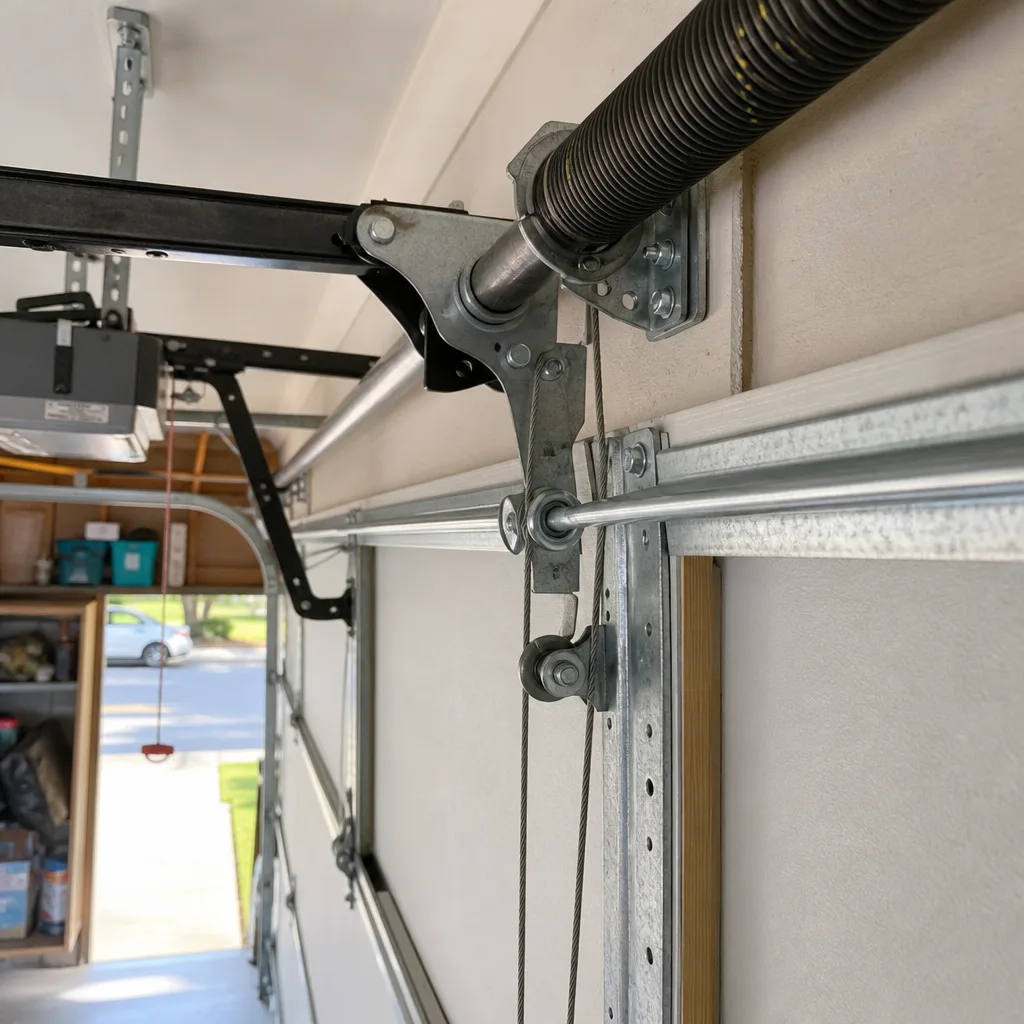 After