
Last updated November 2, 2026
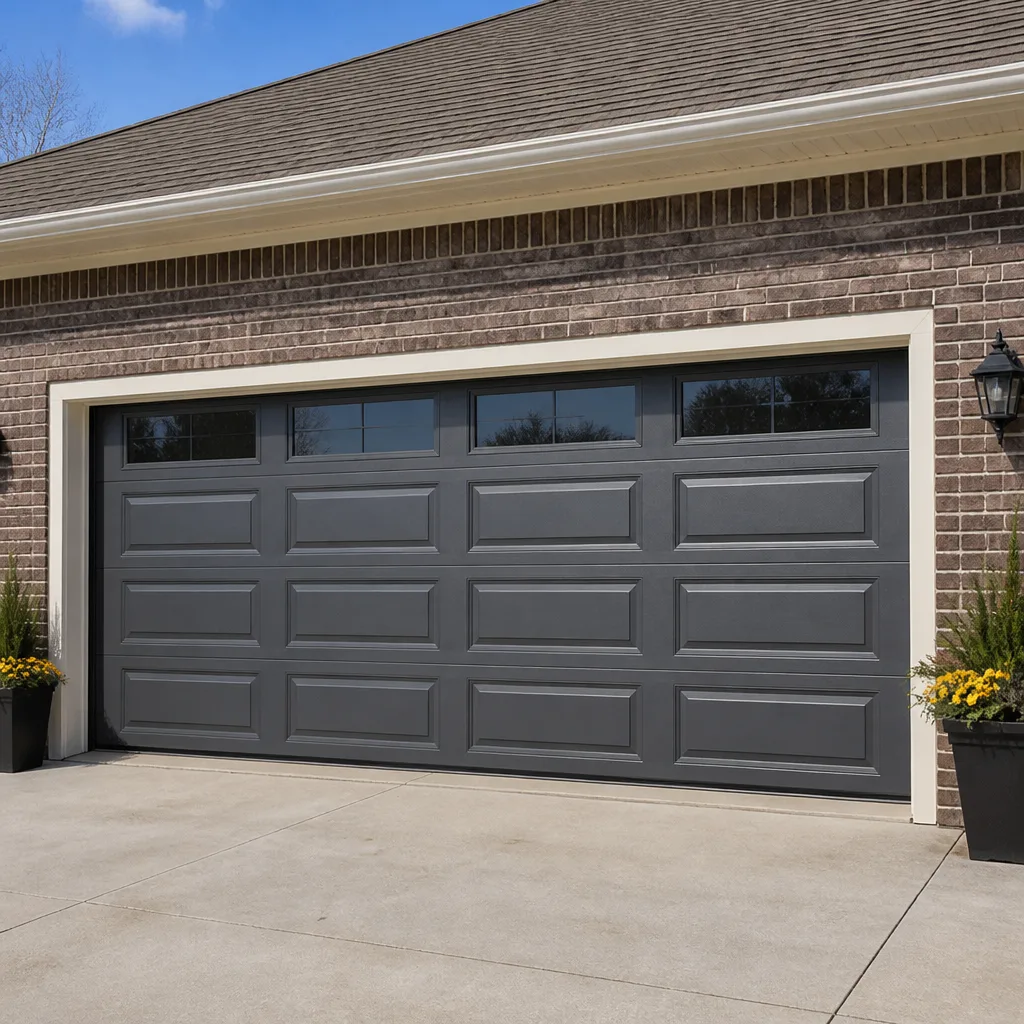 Raised-panel steel
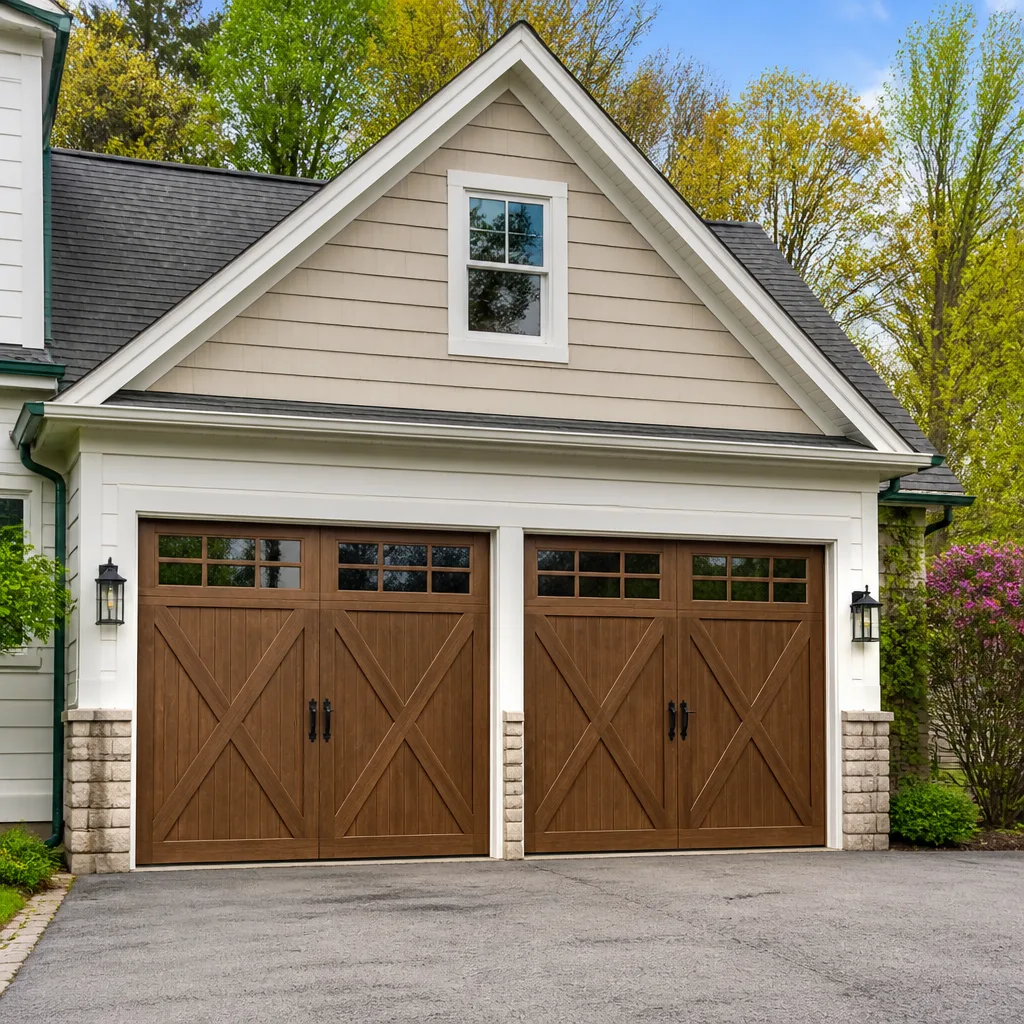 Carriage house
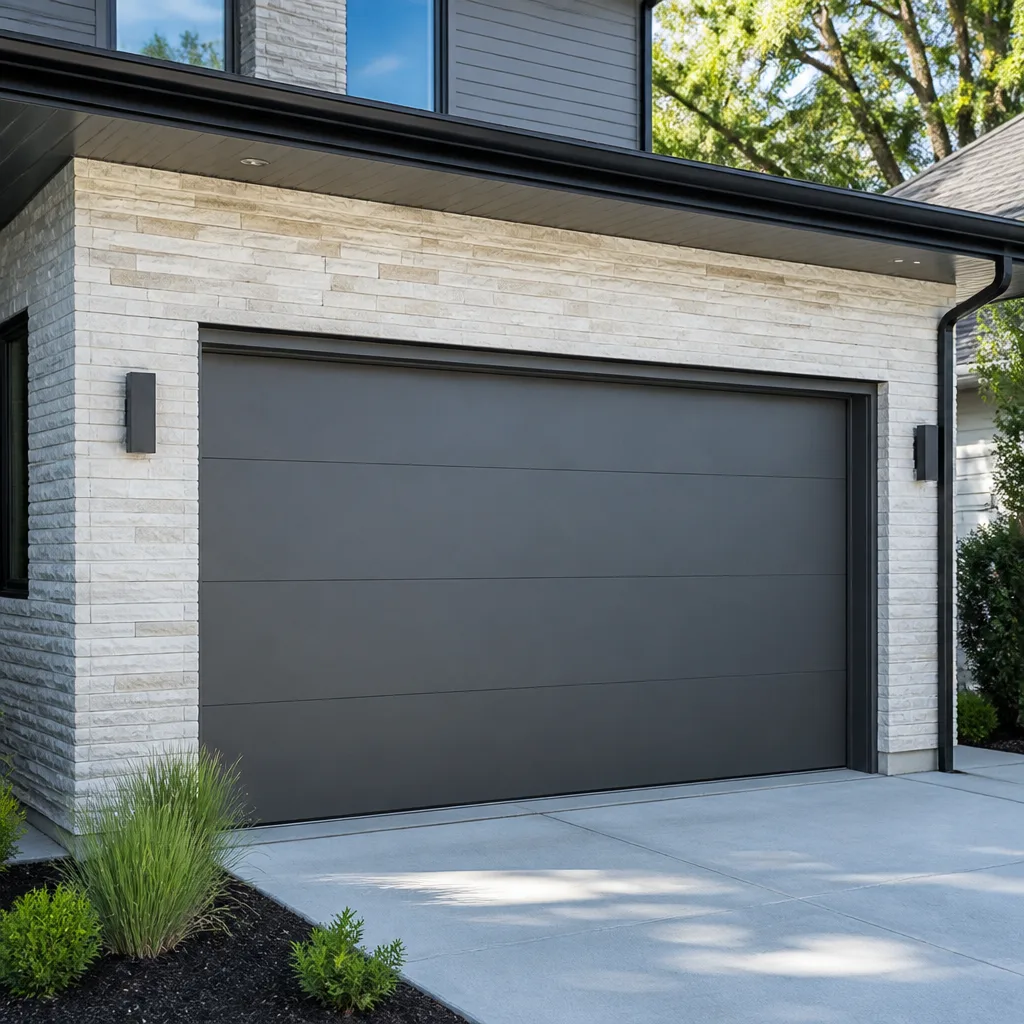 Modern flush
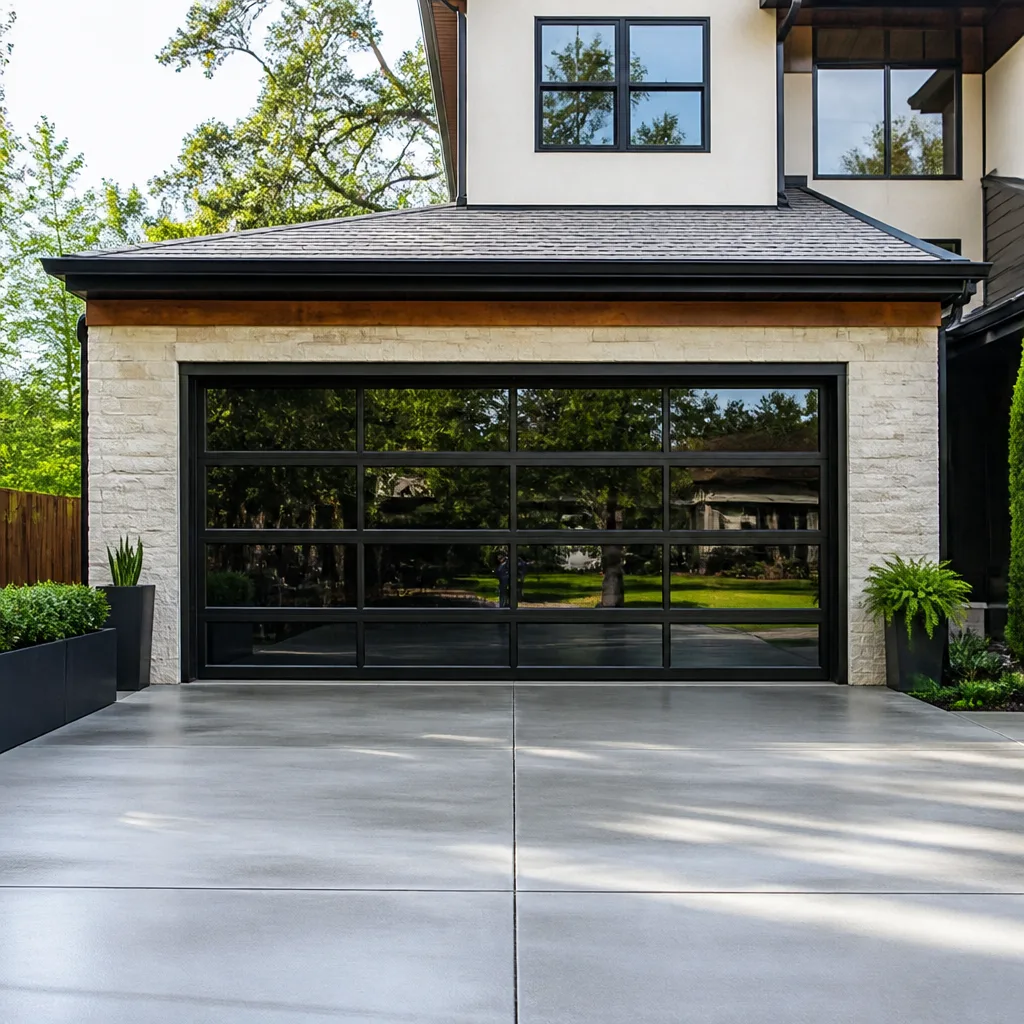 Full-view glass
 LiftMaster openers
 Chamberlain openers
Full 25-point door and opener safety check with every visit - springs, cables, rollers, tracks, and your LiftMaster or Chamberlain opener included
You get a price before we start. It does not change when the truck arrives.
Get your free estimateGarage Door Repair Maintenance Checklist for Mira Mesa Homeowners
Here’s a fact most Mira Mesa homeowners don’t hear until it’s too late: the number-one cause of premature torsion spring failure isn’t age. It’s running a door with misaligned tracks that add lateral stress to every single cycle. That’s a five-minute visual check, and skipping it can take a spring rated for 10,000 cycles and kill it in 3,000. This checklist isn’t the generic “lubricate moving parts” fluff you’ll find on every other site. It’s built around the specific failure modes we see most often on service calls across Mira Mesa, from the 92126 corridor up through the newer developments east of Camino Ruiz. You’ll learn exact products, exact intervals, and pass/fail criteria for every check, so you know what’s normal, what’s a warning sign, and what’s a stop-what-you’re-doing-and-call situation. For a deeper look at symptoms and solutions, see our Garage Door Repair Troubleshooting: Common Problems and How to Fix Them.
Styles & brands we work with
- Raised-panel steel
- Carriage house
- Modern flush
- Full-view glass
- LiftMaster openers
- Chamberlain openers
Quick Answer
A proper garage door maintenance routine in Mira Mesa breaks down into monthly visual checks, semi-annual lubrication with the right products (WD-40 Specialist White Lithium on metal-to-metal contact points, 3-IN-ONE Garage Door Lube on rollers and hinges), and annual balance and force-resistance testing. Most homeowners can safely handle lubrication and visual inspections. Broken springs, frayed cables, and jumped tracks require a professional before the door moves again. Expect to spend about 20 minutes per month and roughly an hour twice a year.
Table of Contents
- Monthly Visual Checks That Catch Problems Early
- Semi-Annual Lubrication: The Right Products in the Right Places
- The Balance Test: How to Know If Your Springs Are Failing
- The Force-Resistance Test: What Your Opener Should and Shouldn’t Do
- Track Alignment: The Dollar-Bill Method That Catches Silent Damage
- Mira Mesa Corrosion Check Points: Where 92126 Rust Hits First
- Stop Criteria: What to Check, What to Never Touch
- Common Mistakes to Avoid
- When to Call a Professional
- Frequently Asked Questions
- The Bottom Line
Monthly Visual Checks That Catch Problems Early
Ten minutes once a month prevents about 70% of the repair calls we get in Mira Mesa. The goal here isn’t to fix anything. It’s to spot drift before it becomes damage. Doors don’t usually fail catastrophically without warning. They degrade in visible, predictable ways if you know what you’re looking at.
Stand inside the garage with the door closed and work through this sequence:
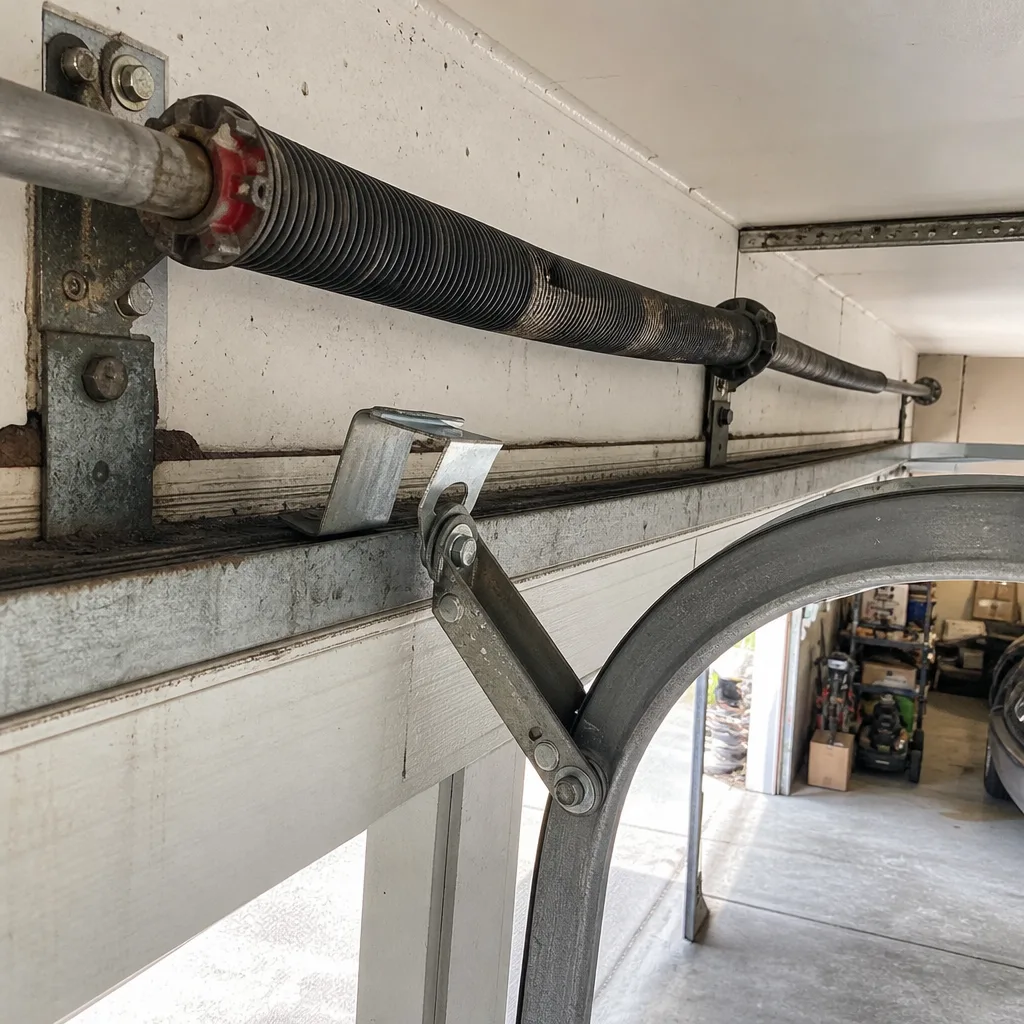
- Look at the spring assembly above the closed door. Torsion springs should be straight, parallel to the door, with no visible gaps in the coils. If a spring looks like a stretched Slinky, or you can see light through a gap between coils, that spring is in the process of failing. Don’t touch it. Call us. A spring under tension carries enough stored energy to cause serious injury if it snaps while you’re standing there.
- Check the lift cables on both sides. They should run neatly in the grooves of the cable drums with no frays, kinks, or rust-colored dust. Rust dust on a cable is a telltale sign the individual strands are abrading against each other. That cable is a few hundred cycles from snapping.
- Watch the door go up and come down one full cycle. It should move smoothly, without jerking, hesitation, or a visible hitch at any point in the travel. Minor hesitation on the way down often means the door is fighting a dry track. Major hesitation on the way up means spring issues.
- Look at the bottom seal while the door is closed. In Mira Mesa, where summer heat bakes the rubber and dry air does the rest, bottom seals crack faster than most people expect. A failed bottom seal lets dirt, insects, and hot air into the garage. Replacement is a homeowner-friendly job if the seal is the slide-in type.
- Listen for new sounds. Your door has a baseline sound. Squeaks that weren’t there last month, grinding, or metallic pinging all indicate something specific. Metallic pinging is almost always a dry or failing roller bearing. Grinding means metal-on-metal contact somewhere in the track system.
If everything passes, you’re done. If you spot something unfamiliar, take a phone video of the door cycling and describe it when you call. That 20-second video tells our techs more than five minutes of verbal description ever will.
Semi-Annual Lubrication: The Right Products in the Right Places
Most garage door lubrication advice is wrong in a specific, damaging way. The big-box “garage door lube” sprays are often just repackaged WD-40 or silicone spray. WD-40 is a solvent, not a lubricant. It strips existing lubrication and evaporates, leaving metal drier than before. Here’s what actually works, what each product is for, and where each one absolutely does not go.
WD-40 Specialist White Lithium Grease. This is a heavy, clingy lubricant designed for high-pressure metal-to-metal contact. On a garage door, it belongs on:
- Torsion spring coils (the entire spring surface)
- Bearing plates at the ends of the torsion tube
- Hinge pins where the metal knuckles rotate
- Lock mechanisms if you have an old-school handle lock
3-IN-ONE Garage Door Lube. This is a lighter lubricant formulated specifically for door systems. On a garage door, it belongs on:
- Rollers (the bearing portion, not the wheel surface that contacts the track)
- Track interior faces that guide the rollers
- Opener rail and chain or belt
WHERE NOT TO USE EITHER: Never apply grease or lube to the track surface that the rollers ride on. That surface should be clean and dry. Putting lubricant there doesn’t reduce friction; it creates a paste with the inevitable dust, which then hardens and causes the exact binding you were trying to prevent. Also never put anything on the safety sensor lenses except a dry cloth. Lubricant on a sensor lens throws off the beam alignment.
Application is simple: wipe surfaces clean with a rag first, then apply white lithium in a thin, even coat to the spring. Spin the door open and closed twice to distribute it. Too much lubricant attracts debris. A thin coat beats a heavy one every time.
Most Mira Mesa garages benefit from this twice a year. If you’re near the 15 and get significant road dust blowing in, or you back your car in and out twice a day, do it quarterly. Dust plus lubricant equals grinding paste.
The Balance Test: How to Know If Your Springs Are Failing
This is the single most informative test a homeowner can run. It takes two minutes and tells you whether your springs are doing their job. We routinely run this test on Garage Door Repair in Mira Mesa calls, and we’ve walked plenty of homeowners through it over the phone. Here’s the step-by-step, with what each result means.
- Close the door completely.
- Pull the emergency release cord (the red handle hanging from the opener rail). This disconnects the door from the opener. The door is now manually operated. Make sure it’s closed when you do this.
- Lift the door by its handle or bottom edge until it’s halfway open, roughly waist height.
- Let go slowly. Keep your hands near it but not on it.
Pass: The door stays put at the halfway point, maybe drifting an inch or two. That means your springs are correctly counterbalancing the door’s weight. A balanced door should feel nearly weightless to lift and should hold any position you leave it in.
Fail – Door drops: The door falls quickly to the ground. Your springs have lost tension. They’re either worn out or in the process of failing. A door that drops is a door with springs that have done their time. Running the opener with weak springs forces the motor to lift the entire weight of the door, which burns out opener gears prematurely. This is a spring replacement situation, not a wait-and-see one.
Fail – Door rises: The door floats upward on its own. This means the springs are overwound, usually because someone replaced springs without correct calibration, or a previous repair was done wrong. An overwound door is dangerous and puts backward torque on the opener. It needs professional adjustment.
Fail – Door is heavy to lift but holds position: This is borderline. The springs are starting to lose it. You’re in the window where replacement is cheaper than waiting. In our experience servicing the neighborhoods along Mira Mesa Boulevard, most torsion springs in this zip code last between 7 and 12 years depending on cycle count and climate (dry air accelerates micro-fractures in spring steel).
After you finish the test, re-engage the opener by pressing the wall button with the door still in manual mode. The opener will reconnect on its next cycle.
The Force-Resistance Test: What Your Opener Should and Shouldn’t Do
Your opener’s force settings control how much resistance the motor pushes against before it reverses. Every modern opener, from a basic Chamberlain chain-drive unit to a LiftMaster with MyQ and camera integration, has adjustable force controls. The goal is simple: enough force to close the door reliably, not enough to crush anything in its path. This test checks whether your settings have drifted, which happens as springs lose tension and the opener compensates.
The Test:
- Place a 2×4 or a roll of paper towels flat on the ground in the center of the door’s path.
- Close the door normally using the opener.
- Watch what happens when the door contacts the object.
Pass: The door contacts the obstacle and reverses within one to two seconds, before applying significant pressure. The reversal should be quick and decisive.
Fail – Door keeps pushing: The door sits on the obstacle and grinds, or pushes hard before reversing. The force setting is too high. This is a safety hazard, especially if you have kids or pets. Lowering the force involves adjusting a dial or digital setting on the opener unit itself. On most Chamberlain and LiftMaster openers, it’s a clearly labeled knob or menu item. If you’re not comfortable doing this, it’s a five-minute service call.
Fail – Door reverses without contact: The door reverses two or three feet above the floor with nothing in the way. The force setting is too low or something in the track has increased friction. Common culprits: dry rollers, a slightly bent track section, or a hinge that’s starting to bind. If lubrication doesn’t fix it, you may have a track alignment issue, which brings us to the next check.
One more note for Mira Mesa homes with direct afternoon sun exposure on the garage door: the heat causes metal panels to expand, which increases track friction on hot afternoons. A door that passes the force test in the morning might choke at 3pm in August. If you see afternoon-only reversal issues, tell your technician. The fix is usually a minor track adjustment, not a new opener.
Track Alignment: The Dollar-Bill Method That Catches Silent Damage
Track misalignment is the most insidious garage door problem because it rarely announces itself. There’s no noise, no obvious failure. The door still opens and closes. But every cycle puts lateral stress on the rollers, the hinges, and ultimately the torsion spring. That’s the mechanism behind the hook at the top of this guide: misaligned tracks are a slow-motion spring killer. Here’s how to check yours.
The Level Check:
- Place a 4-foot level against the vertical track section on each side of the door.
- The track should be perfectly plumb, touching the level along its entire length.
- Check the horizontal track section above the door the same way. It should be level and parallel to the ceiling.
- Repeat on both sides. Compare the two sides visually. The gap between the door edge and the track should be identical left and right at every point in the door’s travel.
The Dollar-Bill Test:
This is an old technician’s trick that catches the subtle warp a level misses. Take a dollar bill and hold it against the track’s interior face, right where the roller sits. Run it along the full length of the vertical track. The gap between the roller’s edge and the track should stay consistent. If the bill slides through easily at the bottom and pinches halfway up, that track section is bowed inward. If it flops loose and then gets tight, the track is wavy. Either condition wears rollers unevenly. Over months, that wear transfers to the hinge knuckles and eventually pulls the door out of alignment at the top panel, which is when you start hearing the grinding that means real damage is happening.
Minor track adjustments are possible for a homeowner with patience and a wrench, but we recommend a professional if the track must be shifted more than a quarter inch. A track that’s significantly off usually indicates a loosened mounting bracket that needs re-anchoring, and misjudging that can leave the door running like a train off its rails.
Mira Mesa Corrosion Check Points: Where 92126 Rust Hits First
Mira Mesa doesn’t get Sacramento heat or Imperial Beach salt spray, but the 92126 microclimate has its own corrosion profile that we see consistently across service calls. The inland valley location means cool, damp marine air moves in overnight, especially during June Gloom. Then it burns off into dry, hot afternoons. That daily condensation cycle is worse for garage hardware than constant humidity, because it creates alternating wet and dry conditions that accelerate oxidation. Here’s where we see it hit first.
Bottom seal brackets. These are the galvanized steel brackets that hold the rubber bottom seal to the bottom panel. Every time the door closes on a damp garage floor, moisture wicks up into the bracket. The rubber seal traps it against the metal. Within three to five years, these brackets in Mira Mesa show more rust than identical brackets in Rancho Bernardo or coastal Del Mar. Check them by running your hand along the underside of the door while it’s up. Rust flakes mean the bracket is compromised and the seal isn’t seating tightly anymore.
Hinge knuckles. The rotating pin in each hinge is a wear point even without rust. Add the overnight condensation cycle, and the knuckles start to bind. Hinges that squeak despite lubrication are usually rusted internally. They can’t be serviced, only replaced. This is an inexpensive repair that prevents a much more expensive panel stress failure later.
Cable drums. These aluminum or steel spools at each end of the torsion tube wind and unwind the lift cables. In moist environments, the steel cable can chemically react with the aluminum drum, causing a powdery white corrosion where the cable sits. If you see white dust around the drum, your cable is abrading. Don’t wipe it, don’t spray it. It’s a warning sign that the drum may need replacement when the cable is eventually serviced.
Bottom panel seam. If your door is a steel Clopay, Amarr, or Wayne Dalton model, the bottom panel takes the most direct moisture contact from the garage floor. Check the seam where the bottom panel meets the second panel for bubbling paint or rust streaks. That’s water intrusion into the panel core. A rusted bottom panel can’t be spot-repaired; it requires a panel replacement, which is why we tell every Mira Mesa homeowner to keep that bottom seal in good shape. It’s a $40 part that protects a $700 panel.
Stop Criteria: What to Check, What to Never Touch
Here’s the line that separates safe homeowner maintenance from work that requires a technician. Passing this line on the wrong side isn’t about convenience. It’s about physical safety. A garage door under spring tension stores energy that, if released uncontrolled, can cause serious injury. This isn’t a dramatic warning; it’s the reality of a torsion spring rated for the equivalent of lifting a small car.
Safe for Homeowners (with ordinary tools and common sense):
- Lubrication of springs, hinges, and rollers as described above
- Track visual inspection and dollar-bill gap check
- Balance test (disconnecting the opener and lifting the door manually)
- Force-resistance test (using the 2×4 method)
- Bottom seal replacement (if the old seal slides out of the track channel)
- Sensor lens cleaning with a dry cloth
- Tightening loose hinge bolts and visible mounting bolts (with the door closed)
Stop, Do Not Touch, Call a Professional:
- Any spring that shows a gap, a visible break, or a stretched-out coil configuration. Torsion springs under tension are the most dangerous component on the door. Extension springs (the kind stretched along the horizontal tracks on older doors) can snap and become projectiles if they lack safety cables.
- Any cable that shows fraying, rust dust, or has come off the drum. Cables under tension are the second leading cause of serious garage door injuries.
- A door that has come off its tracks. The door is in an unstable position. Moving it, even manually, risks producing a sudden collapse.
- Any opener motor that runs but the door doesn’t move. The gear may have failed or the trolley may be disconnected. Continuing to run the motor compounds whatever’s wrong.
- Any repeated reversal issue that lubrication doesn’t resolve. This indicates either a force-setting problem or a deeper track problem, and continued operation accelerates wear.
If you’re in any doubt, call. We’d rather talk you through a quick diagnosis over the phone than have you put your hands somewhere unsafe. Our Garage Door Repair Mira Mesa home page has more on what to expect when you call.
Common Mistakes to Avoid
- Using WD-40 as a lubricant. WD-40 is a water displacement solvent, not a lasting lubricant. It strips existing lubrication and accelerates wear. Use the white lithium or garage door lube specified above.
- Lubricating the track surface. The track’s bearing surface should stay clean and dry. Adding lubricant creates a dust-gumming paste that causes binding.
- Ignoring a squeaky door. Noise is the first warning sign of wear. A squeak that appears suddenly means a roller or hinge is failing. Catching it then costs a fraction of a repair six months later.
- Skipping the balance test because the door “seems fine.” A door that opens and closes normally can still have weak springs. The opener masks the problem until the day the spring snaps and the opener simultaneously strips a gear.
- Adjusting force settings to “fix” a door that reverses too easily. When a door starts reversing on its own, it’s usually because friction has increased. Crank up the force to overcome that friction and you’ve turned a maintenance issue into a safety hazard. Find the friction, and fix it instead.
- Replacing the opener when the door itself is the problem. We see this constantly. A homeowner assumes a struggling door means a bad opener and pays for a new one, then still has the same issue. Test the door manually with the balance check before blaming the opener. If the door is heavy, springs are the problem, not the motor. If you’re not sure which is at fault, Garage Door Opener Repair in Mira Mesa diagnostics cover both.
- Leaving a snapped spring cable dangling. If a cable snaps, don’t try to rewind it or remove it. A dangling cable near a live drum is a snag hazard. Leave it be and call.
When to Call a Professional
Call when the door refuses to cooperate with basic maintenance. Broken springs, frayed cables, jumped tracks, or a snapped spring are all stop conditions that call for Garage Door Repair services. If you’ve tried the lubrication and the door still sounds like a bag of rocks, the issue is internal. If the balance test fails in either direction, spring work is not a DIY job. If the door is visibly crooked in its opening, a panel or track repair is beyond homeowner scope. When in doubt, call. Garage Door Repair Mira Mesa offers free estimates in Mira Mesa – call (833) 620-4120. We’ll diagnose the problem honestly, tell you if a repair makes sense or a replacement is smarter, and quote a price before any work starts. You’ll know the number before we touch a tool.
Frequently Asked Questions
Twice a year is the baseline for most Mira Mesa homes. If your garage faces west and bakes in afternoon sun, or you live near the 15 with continuous road dust, increase that to quarterly. More frequent lubrication with the correct products is harmless; less frequent means dry metal wears faster.
DIY maintenance costs under $20 in materials if you buy the white lithium and garage door lube. A professional tune-up service call that includes full lubrication, tightening, balance testing, and roller inspection typically runs between $85 and $150 in the Mira Mesa area, depending on the door size and how many rollers need replacement.
Bottom and side rollers on a standard sectional door can often be replaced by a homeowner because they’re not under spring tension once the door is open. Top rollers and any roller near the spring assembly should be left to a professional. If you’re not sure which roller is which, call us before you remove anything.
Most torsion springs in the 92126 area last between 7 and 12 years, depending on cycle count (how many times a day the door opens and closes) and the quality of the original spring wire. Climate matters too; the overnight condensation cycles common in Mira Mesa’s inland valley microclimate accelerate micro-fracturing in spring steel compared to more uniformly dry inland communities.
This usually means the opener’s internal gear has failed, or the trolley has disconnected from the chain or belt. On Chamberlain and LiftMaster units, the white plastic gear inside the motor housing is a designed failure point that strips after years of use. It’s repairable, but some homeowners choose to upgrade to a new unit at that point. We can tell you which makes more sense once we see the opener.
Yes. We work on Craftsman, Raynor, Clopay, Amarr, Wayne Dalton, Chamberlain, LiftMaster, and Genie systems daily. We don’t recommend one brand over another; we service the door and opener you already have, and if replacement makes more sense than repair, we’ll walk you through the Garage Door Installation in Mira Mesa options honestly.
The Bottom Line
Garage door maintenance in Mira Mesa isn’t complicated, but it is specific. The right lubricant in the right place, a monthly visual check, a semi-annual balance test, and a dollar-bill track inspection will catch 90% of problems before they become repair bills. The other 10%? That’s what we’re here for. If you run through this checklist and something doesn’t pass, call us at (833) 620-4120 for a free estimate. We’ll tell you what’s wrong, what it costs, and whether repair or replacement makes more sense, before any work starts.
Written by the team at Garage Door Repair Mira Mesa, serving Mira Mesa since 2012.
See the difference
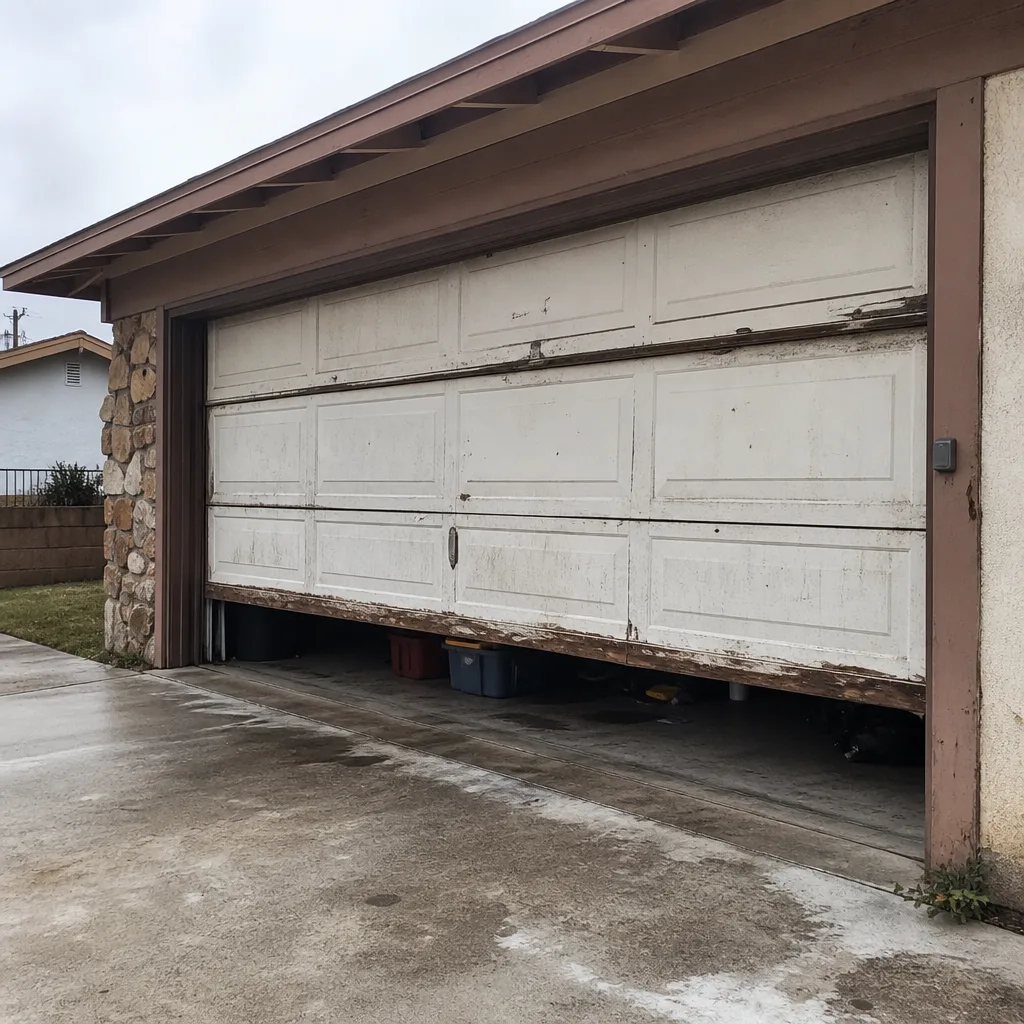 Before
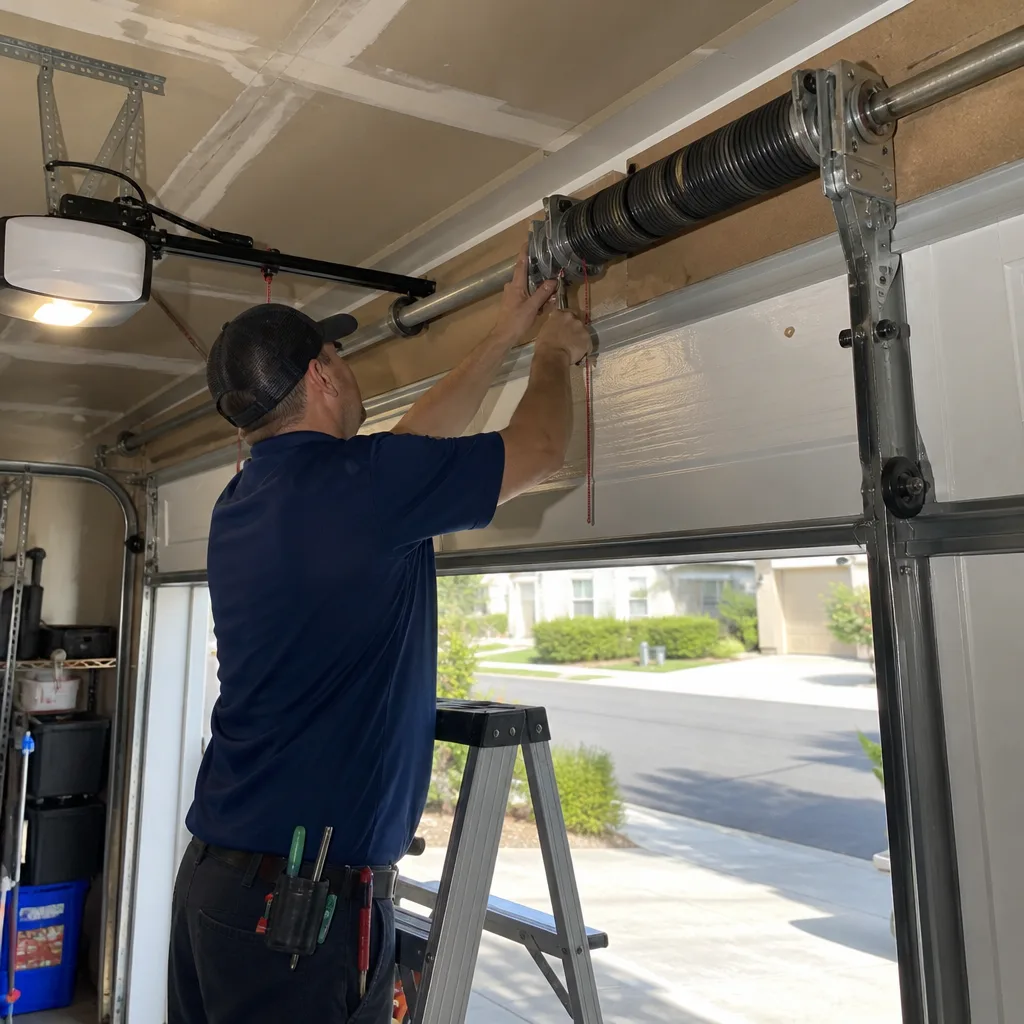 After
 Before
 After
 Before
 After