
Last updated November 2, 2026
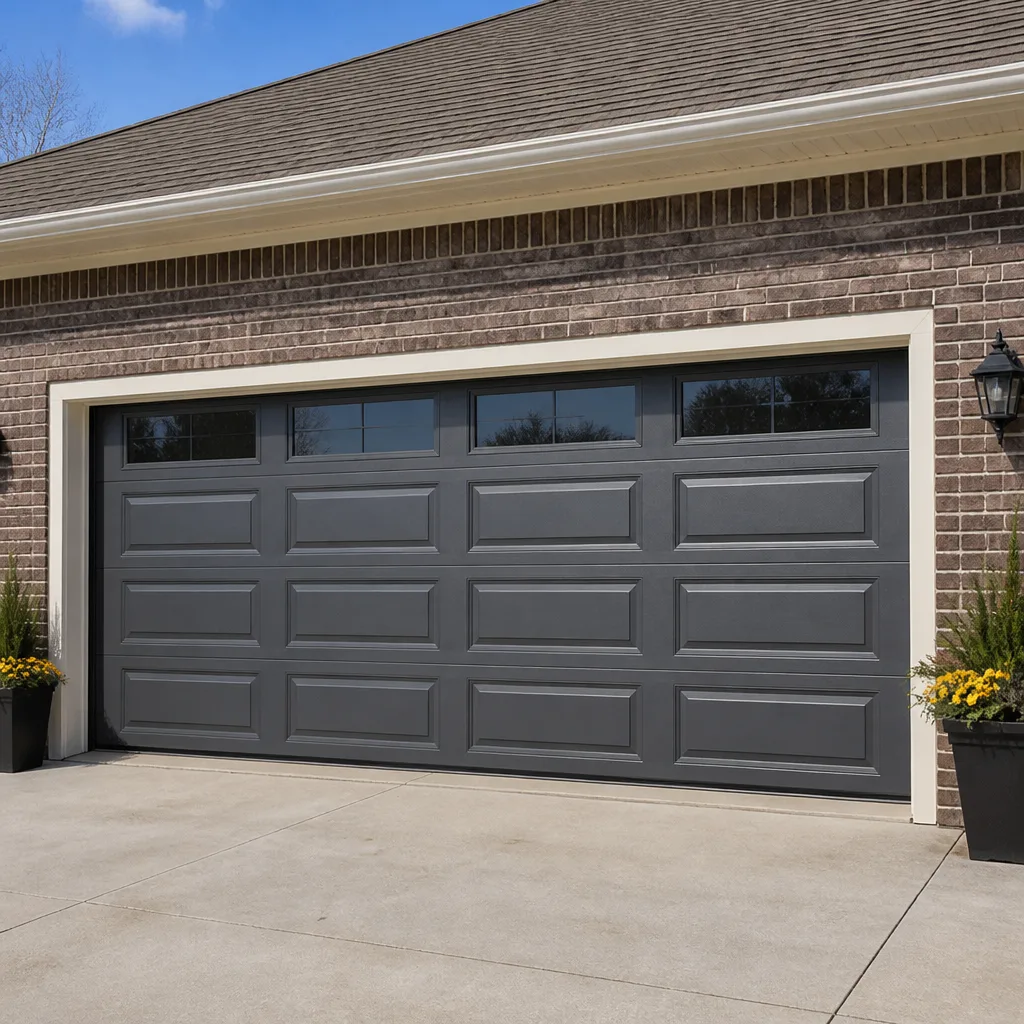 Raised-panel steel
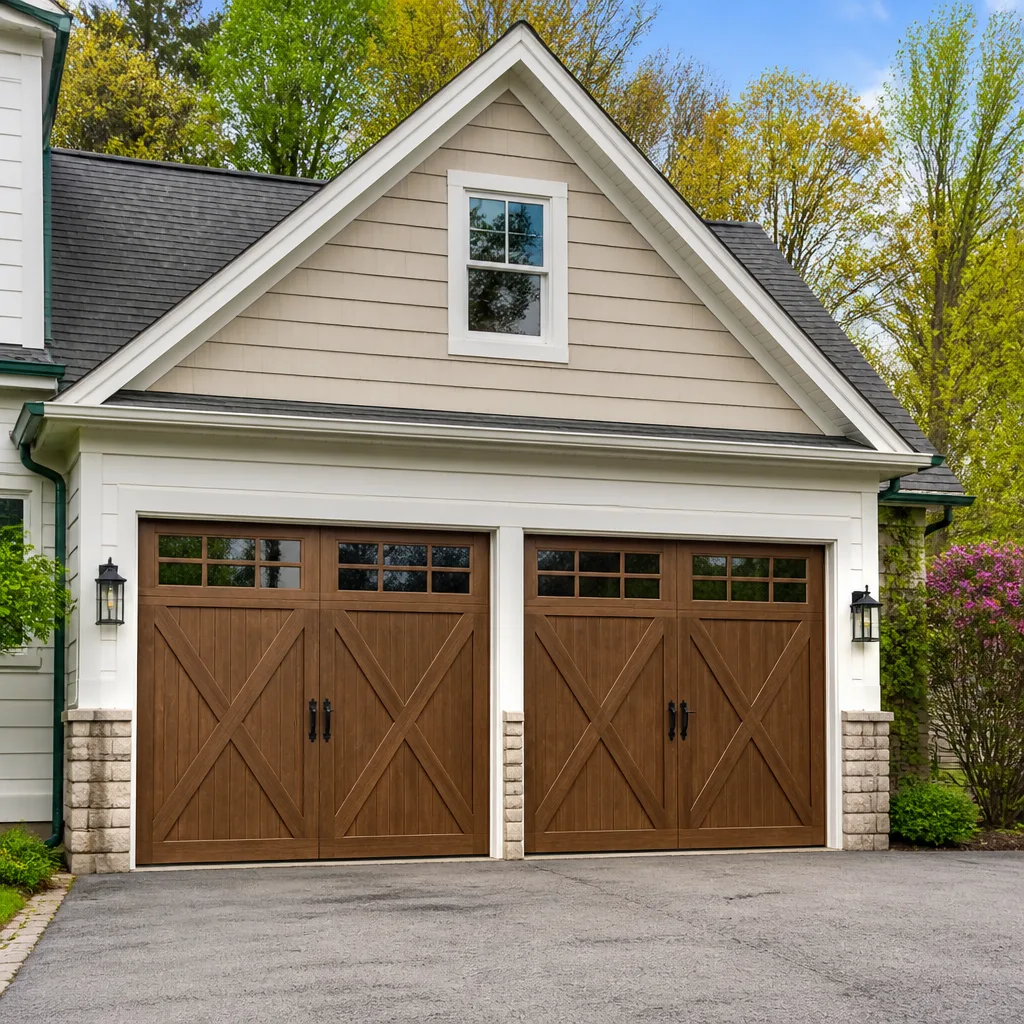 Carriage house
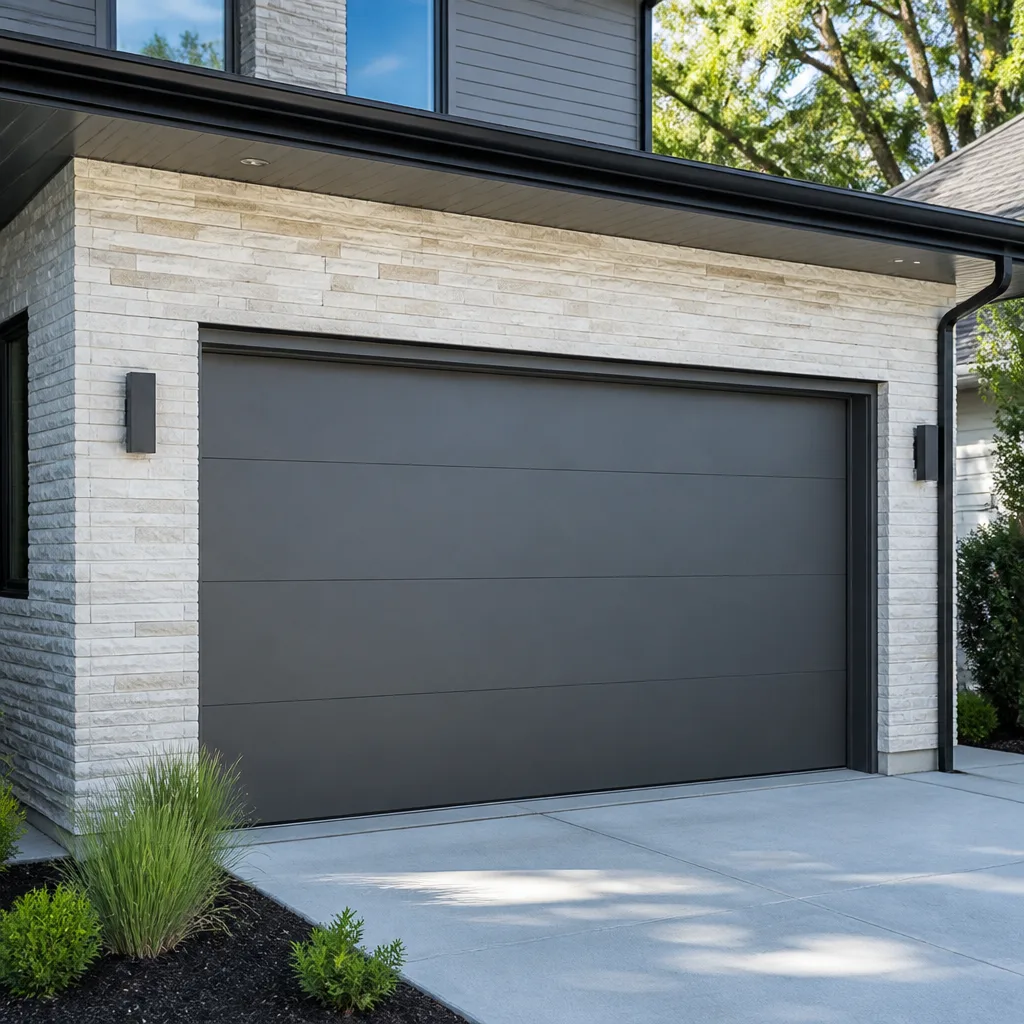 Modern flush
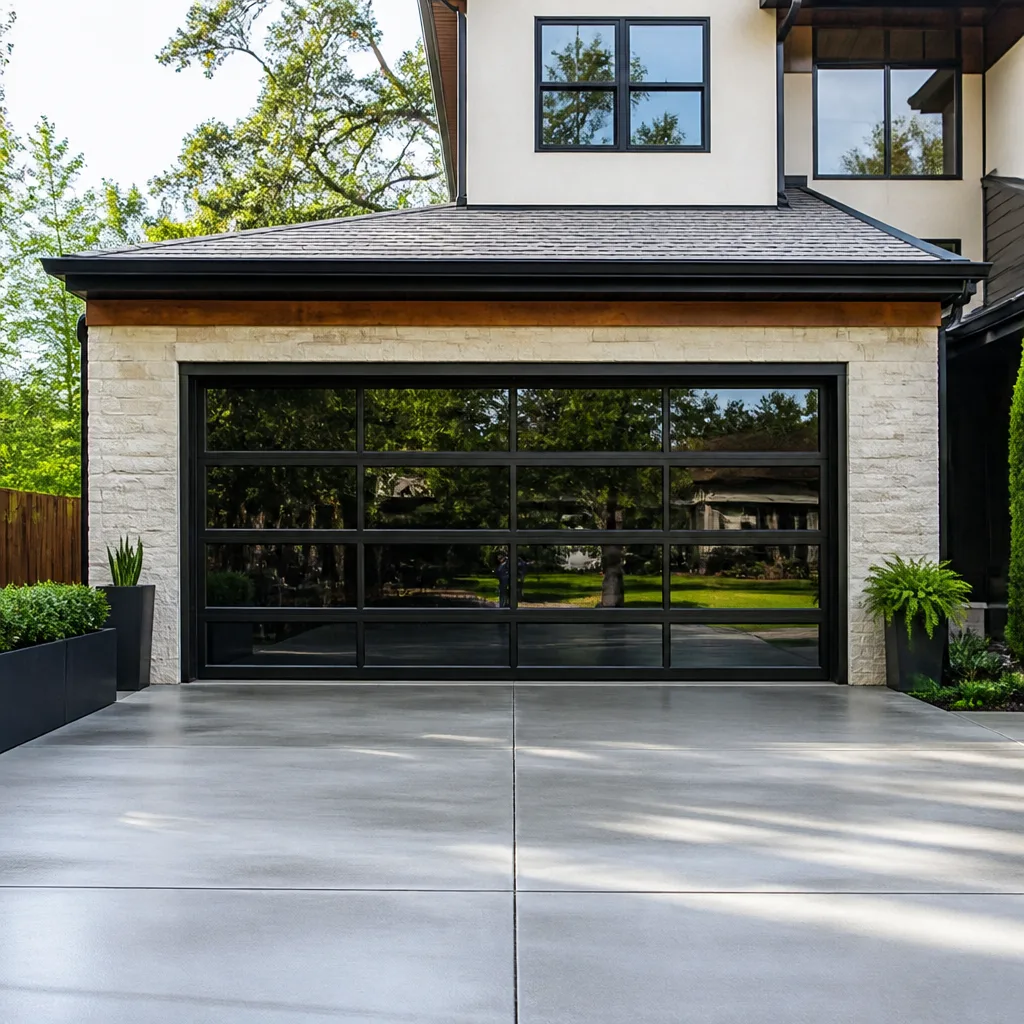 Full-view glass
 LiftMaster openers
 Chamberlain openers
Full 25-point door and opener safety check with every visit - springs, cables, rollers, tracks, and your LiftMaster or Chamberlain opener included
You get a price before we start. It does not change when the truck arrives.
Get your free estimateDIY vs Professional Garage Door: The Mira Mesa Homeowner’s Decision Guide
A torsion spring under full wind holds roughly 100 foot-pounds of torque on a winding cone. If a winding bar slips during a DIY adjustment, that energy releases in under a millisecond. That’s not a warning-label disclaimer; it’s the physics of why this specific task carries a different risk profile than lubricating rollers. This guide gives Mira Mesa homeowners a clear-eyed framework for deciding which garage door tasks make sense to tackle yourself, which ones absolutely require a trained specialist, and how to tell the difference before you pick up a tool. For related reading, see our Garage Door Emergency Preparedness Guide for Mira Mesa Homes.
Styles & brands we work with
- Raised-panel steel
- Carriage house
- Modern flush
- Full-view glass
- LiftMaster openers
- Chamberlain openers
Quick Answer
DIY garage door maintenance in Mira Mesa is genuinely sensible for low-risk tasks like bottom seal replacement, weatherstripping, roller lubrication, and certain opener adjustments. Professional service is non-negotiable for anything involving torsion springs, lift cables under tension, track hardware on high-tension systems, or opener circuit wiring. The dividing line is simple: if the task stores mechanical energy that could release suddenly, call a specialist. If it’s a wear-and-tear component you can inspect visually without springing tension, the math often favors DIY.
Table of Contents
- DIY-Safe Tasks: What Mira Mesa Homeowners Can Do Themselves
- Professional-Only Tasks: The Mechanical Reasons Why
- Tool Reality Check: What You Actually Need
- Cost Comparison: DIY Savings vs. Failed-Attempt Repair Bills
- Failure Modes: The Framework That Beats Generic Warnings
- How to Describe Symptoms So You Don’t Overpay for a Diagnostic Visit
- Mira Mesa-Specific Considerations: Climate, Salt Air, and Older Housing Stock
- Common Mistakes to Avoid
- When to Call a Professional
- Frequently Asked Questions
- The Bottom Line
DIY-Safe Tasks: What Mira Mesa Homeowners Can Do Themselves
We’ll be honest up front: roughly 70% of the calls we get for “Garage Door Repair in Mira Mesa” turn out to be maintenance issues a homeowner could have handled in under an hour with basic tools and the right guidance. That doesn’t mean every job is DIY territory. It means the specific tasks below have a manageable failure mode, meaning if you get them wrong, the worst outcome is a misaligned part or a return trip to the hardware store. Nothing is going to snap back at you.
Bottom Seal Replacement
The rubber seal along the bottom of your door degrades from sun exposure and repeated compression. In Mira Mesa, where summer temperatures routinely hit the high 80s and low 90s, garage floor seals harden and crack faster than in coastal microclimates just a few miles west. Replacing it is straightforward: pull out the old T-shaped seal from the aluminum retainer track, clean the channel with a rag and solvent, and slide in a new seal. No spring tension involved. No risk. Tools required: a utility knife and possibly a flat-head screwdriver to guide the seal. Parts cost: $15 to $25.
Weatherstripping Replacement
The vertical and top weatherstripping along the door jamb is another sun-and-heat casualty. In newer Mira Mesa developments like those east of Camino Ruiz, homes with south-facing garages see noticeably faster weatherstripping degradation than north-facing doors. Replacement involves removing the old strip, which is typically nailed or screwed into the jamb, and fastening the new one with the same hardware spacing. If you can use a screwdriver and a stepladder, you can do this in 45 minutes. Failure mode: a visible gap, not an injury.
Roller Replacement on Extension-Spring Doors
This one comes with an important qualifier. If your door uses extension springs, which are the long springs running parallel to the horizontal tracks, you can replace worn nylon rollers yourself. With the door in the fully open position, the springs are at their least extended, and clamping the track with a vise grip above the roller you’re replacing prevents the door from sliding. You’ll need two vise grips, a socket set, and a ladder. This is the task where the tool reality starts diverging from the risk reality. On a torsion spring door, which is what Mira Mesa homes built after roughly 1990 predominantly have, you should not attempt roller swaps without professional guidance, because the spring is permanently storing energy even when the door is open.
Lubricating Hinges and Tracks
Hinge and track lubrication is the single most beneficial DIY maintenance task for garage door longevity, and it’s genuinely zero-risk. Use a white lithium grease on hinge pivot points and a silicone-based lubricant on rollers and hinges. Do not use WD-40 as a long-term lubricant on door hardware; it’s a water displacement product that cleans but doesn’t provide lasting lubrication. In our experience, applying the correct lubricant twice a year in Mira Mesa’s coastal-adjacent climate extends roller bearing life noticeably compared to unmaintained doors.
Resetting Opener Travel Limits
Most modern openers, including the LiftMaster and Chamberlain units dominant in Mira Mesa homes, have adjustable travel limits accessible through a small control panel or a wall-mounted console. If your door doesn’t fully close or reverses for no apparent reason, the travel limits may have drifted, particularly after power outages or age-related logic board drift. You can reset these using the manufacturer’s instructions, which typically involve pressing a button until a light blinks, then running the door through a cycle. This is electronics, not stored mechanical energy. The failure mode is a door that still doesn’t close all the way, in which case the issue is likely a misaligned sensor or worn gear, and you call a specialist.
Professional-Only Tasks: The Mechanical Reasons Why
The common advice that “torsion springs are dangerous” is incomplete. The full picture is that certain tasks involve stored mechanical energy that is not always visible. A steel torsion spring under tension doesn’t look threatening. It looks like a rod over your head. But specific tasks involving that system carry failure consequences that range from severe hand and facial injuries to a 400-pound door panel becoming unsupported and falling. That’s the framework, not just a warning label.
Torsion Spring Replacement or Adjustment
A torsion spring on a standard 16-by-7-foot residential door in an average Mira Mesa home holds enough stored energy to lift the entire weight of the door. When you turn the winding cone with a bar, you’re adding or releasing that energy. If the bar slips, breaks, or the cone cracks, the spring releases instantly. No household tool set includes the required calibrated winding bars, which are solid steel rods of a specific diameter, not screwdrivers or Allen wrenches. This is the single most common cause of serious DIY garage door injuries in San Diego County, and the failure mode is measured in milliseconds.
Cable Replacement Under Tension
Lift cables thread around drums at the top of the spring shaft and carry the door’s weight through pulley tension. If a cable snaps while the door is partially open, the remaining cable and spring combination can whip, and the door will drop diagonally. Replacing a cable requires de-tensioning the spring system first, which means performing the same winding procedure as spring replacement. The critical detail: you cannot visually assess cable wear inside the drum on a torsion door without unwrapping it, at which point you’ve entered the tension system. Cable replacement on a torsion door is a professional task, full stop.
Track Replacement on High-Tension Systems
Track replacement is partially a skill task and partially a tolerance task. On a torsion door, the vertical and horizontal tracks must align with the door’s loaded weight path within a quarter-inch tolerance or the door binds, the cables slack, and you risk derailing a 400-pound panel. If the track is merely dirty or has minor surface imperfections, cleaning is DIY-safe. If the track is bent, spread, or has pulled loose from the wall, the correct repair requires unloading the door’s weight first. We’ve seen Mira Mesa homeowners try to muscle a track back into shape with a pry bar, only to have the door derail at midnight and require an emergency call anyway.
Opener Circuit Wiring
Garage door openers run on 120-volt circuit power stepped down to 24 volts for the logic board and sensors. That low-voltage side is generally safe to inspect and even repair if you’re comfortable with a multimeter. The line-voltage side is not. If you’re replacing a burned-out motor capacitor or tracing a short in the control board, and you don’t know which side of the transformer you’re working on, the safest move is to call a specialist. Modern Genie, LiftMaster, and Chamberlain openers also have proprietary diagnostic codes and integrated circuitry that a generalist wiring background won’t help you decode.
Tool Reality Check: What You Actually Need
One of the most misleading aspects of DIY garage door advice online is the absence of an honest tool inventory discussion. Most tasks framed as “simple” only look simple when a professional with an $800 tool bag does them. Here’s what the reality looks like for Mira Mesa homeowners.
What a Nylon Roller Replacement Actually Requires
Let’s assume the safest case: extension-spring door, rollers worn but not failed. You’re replacing four to eight nylon rollers. The actual tool list: two vise grips to clamp the track, a socket set with 7/16-inch and 1/2-inch sockets, a step ladder, gloves, and about an hour and a half. If you don’t own two vise grips, you’ll spend $20 on them. This is a genuinely reasonable DIY project. The tradeoff is time and patience, not safety.
What Torsion Spring Work Actually Requires
Here’s where the DIY calculation collapses for most households. Replacing or adjusting torsion springs requires a pair of calibrated steel winding bars matched to your spring’s cone diameter, typically 1/2-inch to 5/8-inch round bar stock. Not socket extensions. Not rebar. Calibrated. Then you need a helper, because one person must hold the second bar while the first makes quarter-turn adjustments. You need to know your door’s exact spring specifications: inside diameter, wire gauge, length, and winding direction. You need to remove and reinstall the cable drums without letting them slip. And you need to set correct tension on BOTH springs so the door lifts evenly. Miss any one of these, and the spring either doesn’t hold tension or releases catastrophically. Even when homeowners own the right bars, the procedural knowledge gap is the real limitation.
The Financial Comparison
A pair of winding bars costs $15 to $40 depending on quality. A single torsion spring costs $50 to $90 at retail. The full DIY-material cost for a spring replacement lands around $100 to $150. For detailed pricing context, see our Garage Door Cost Breakdown: The Mira Mesa Homeowner’s Reference for 2026. Professional spring replacement in Mira Mesa runs $180 to $340 for a single spring, $300 to $500 for a pair, including parts and labor. So the potential savings is $100 to $200. But a failed DIY spring attempt regularly turns into: a new spring (the first one was damaged during improper winding), a new cable drum (scored by a slipped bar), a service call, and in the worst cases, hand surgery. When we frame it this way to homeowners, the DIY spring decision usually resolves itself.
Cost Comparison: DIY Savings vs. Failed-Attempt Repair Bills
Let’s put real numbers on the table. These are from our work in Mira Mesa, not national estimators, and they reflect what we actually see in this market.
- Bottom seal replacement: DIY parts $15-$25. Professional replacement $80-$120. Time to DIY: 30-45 minutes. Clear win for DIY.
- Weatherstripping: DIY parts $10-$20. Professional replacement $90-$140. Time to DIY: 45-60 minutes. Clear win for DIY.
- Hinge and roller lubrication: DIY supplies $10-$15. Professional service $75-$100. Time to DIY: 20 minutes. Clear win for DIY.
- Roller replacement (extension-spring door): DIY parts $30-$60 for rollers. Professional replacement $120-$180. Time to DIY: 1-2 hours. Reasonable DIY with patience.
- Opener travel limit reset: DIY cost $0. Professional diagnostic $75-$100. Time to DIY: 15 minutes. Clear win for DIY if the limit was the actual issue.
- Torsion spring replacement: DIY parts $100-$150. Professional replacement $180-$500 depending on spring count. Time to DIY: 3-5 hours for a first-timer. Risk-adjusted: professional strongly favored.
- Failed DIY spring repair remediation: We’ve seen bills from $400 to $900 for repairs following a botched spring job, including damaged cones, shredded cables, and a dropped door panel. This is the line item that turns a $150 “savings” into a $600 expense.
The pattern is straightforward. The more accessible the component, the better the DIY economics. The more stored energy or structural load the task involves, the more the risk-adjusted numbers favor professional help. A garage door specialist who does this work daily can replace a torsion spring in roughly 90 minutes, safely, with the correct parts on hand. That’s what the $200 buys you: not just labor, but the elimination of a failure mode that could put you in an emergency room.
Failure Modes: The Framework That Beats Generic Warnings
Here’s the framework we mentioned at the top, applied to specific tasks. Most DIY advice says “don’t touch springs, do touch seals.” That’s correct but hollow. Understanding the failure mode makes you a better decision-maker.
Category 1: Cosmetic Failures (DIY Safe)
Tasks where the worst outcome is a visible cosmetic issue. Weatherstripping, bottom seals, exterior trim, paint touch-ups. Nothing moves while you’re working, nothing is loaded, nothing can pinch. In Mira Mesa’s housing stock, much of which dates from the 1970s through 1990s, these components are often aging and need attention anyway, so dedicating a Saturday to them is time well spent.
Category 2: Mechanical Wear Item Failures (DIY Safe with Conditions)
Tasks involving rolling components, hinges, brackets, and lubrication. These parts wear out and are designed to be replaceable. The condition is that the door’s tension system remains untouched. On an extension-spring door, roller replacement is Category 2. On a torsion door, many of these same operations shift to Category 3, because the spring’s stored energy is adjacent to your work path even if you never touch the winding cone.
Category 3: Energy-Releasing Failures (Professional Only)
Any task where a mistake releases energy suddenly, not gradually. Torsion spring adjustment. Winding cone removal. Cable drum de-tensioning. Even spring removal on a door with no visible damage has a Category 3 failure mode, because the spring must be unwound, and the unwinding procedure is where the energy leaves the system. The difference between a controlled release and an uncontrolled one is the quality of your winding bars, your technique, and your helper’s steadiness.
Category 4: Structural Load Failures (Professional Only)
Tasks involving the door’s weight being shifted from one support point to another. Track removal. Panel replacement. Hinge replacement on a door with damaged or sagging sections. Any time a 400-pound panel could fall or bind during the work, a specialist’s lifting equipment and blocking methods are the difference between a controlled process and a dropped door. Before attempting structural work, check our Garage Door Permits, Codes & Inspections in CA: What You Need to Know.
How to Describe Symptoms So You Don’t Overpay for a Diagnostic Visit
This section saves Mira Mesa homeowners real money. When you call a garage door company with a vague complaint, “my door is making a noise,” the technician has to diagnose from zero on arrival, and that diagnostic time is often billed. When you describe symptoms precisely, you narrow the problem to a likely component, and in many cases, the technician can arrive with the right part already on the truck. Here’s how to do it.
- Identify when the sound happens. Does the grinding occur while the door is moving up, moving down, or only when the door is fully closed and the opener is running? Grinding during movement is typically a roller or hinge problem. Grinding with the door stationary suggests the opener gear is stripping.
- Locate the sound’s origin. Left side, right side, center, or from the opener unit itself? A left-side squeal during operation points to a left-side roller or hinge. A noise coming from the motor housing suggests an internal gear or chain issue.
- Describe the noise precisely. A squeal is metal-on-metal friction, usually a dry or failed roller bearing. A rumble or vibration with the opener running often indicates a failing gear in the opener or an unbalanced door. A bang at the bottom of the travel path could be a broken spring (the door crashes down) or a limit setting issue (the door slams shut).
- Check the simple things before calling. Is anything visibly broken? Are the springs in one piece? Do the safety sensors have blinking lights? On a LiftMaster or Chamberlain unit, a blinking sensor light typically means misalignment or obstruction, which you may be able to fix in 30 seconds by nudging the sensor bracket.
- Note the door’s behavior on manual operation. Pull the release cord and lift the door by hand. If it lifts smoothly and stays in place half open, the door is balanced and the problem is the opener. If it’s heavy, drops, or binds, the problem is the door’s spring or track system, not the opener.
That last step is the single most useful diagnostic distinction in garage door work: operator problem versus door problem. A homeowner who can say “the door is heavy when I lift it manually” has already eliminated the opener from the equation, and the technician knows to bring spring or cable parts. We get enough of these precise descriptions from homeowners that we can usually quote accurately over the phone and often complete the repair in a single visit.
Mira Mesa-Specific Considerations: Climate, Salt Air, and Older Housing Stock
Mira Mesa sits roughly 8 to 10 miles inland from the Pacific, just east of the 805. That’s close enough to receive marine-layer influence on many mornings but far enough to experience hot, dry afternoons that coastal neighborhoods don’t get. The result is a thermal expansion cycle that works on metal door components year-round. In our experience working across Mira Mesa, from the older neighborhoods north of Miramar Road to the newer construction east of Camino Ruiz, we see three recurring patterns.
Roller and Hinge Wear Accelerates
The daily temperature swing in Mira Mesa, often 20 to 25 degrees from early morning to afternoon, causes metal-to-metal contact points to expand and contract. Nylon rollers with sealed bearings handle this well, but the original equipment steel rollers on older doors, particularly those installed in the 1980s and 1990s, wear visibly faster than the same components in more stable coastal climates. If your Mira Mesa garage door is noisy, it’s probably original steel rollers.
Weatherstripping Degrades Faster Than Expected
Triple-digit summer afternoons bake rubber and vinyl seals. Combined with dry Santa Ana conditions in the fall, weatherstripping in Mira Mesa can harden and crack in as little as three to four years. Many homeowners assume the seal material is defective, but it’s simply the local heat load. This is also why we recommend inspecting the bottom seal before every rainy season, because a crack lets winter rain and runoff into the garage.
Salt Air Is Real, Even This Far Inland
The marine layer that reaches Mira Mesa carries more than moisture; it carries fine salt particulate. That means steel springs, hinges, and tracks corrode faster than in, say, Poway or Santee. The practical implication for the DIY homeowner: galvanized or powder-coated replacement parts are worth the small upcharge in this ZIP code. The practical implication for the professional-or-DIY decision: corroded torsion springs are more dangerous to work on than clean ones, so a spring replacement on a 20-year-old Mira Mesa door with visible rust is absolutely not a first-timer’s project.
Common Mistakes to Avoid
- Using the wrong lubricant. WD-40 is a penetrant and cleaner, not a garage door lubricant. It strips away the existing grease and accelerates wear. Use white lithium grease on hinge pivots and silicone spray on rollers and tracks.
- Attempting torsion spring work with improvised tools. Screwdrivers, Allen wrenches, rebar, and pry bars are not winding bars. The cone diameter is engineered for a specific bar size, and an undersized bar will slip when the spring loads up.
- Lubricating the track itself. The rollers bear the weight and rotate on the track; the track surface doesn’t need lubrication. Greasing tracks attracts dust and grit, which creates a grinding compound and accelerates roller wear.
- Ignoring a door imbalance. A door that’s heavy to lift manually has a spring issue, even if the opener still technically moves it. The opener motor is compensating for a failing spring, and the strain will burn out the motor gear eventually. Fix the spring, and you protect the opener.
- Disconnecting the opener release while the door is up and the spring is broken. The emergency release exists to manually operate a working door. If the spring is broken, pulling the release on an open door sends 400 pounds of panel straight down. Lower the door using the opener until the spring is replaced, or block the door with sturdy lumber before disconnecting anything.
- Trying to replace a push-button wall console without verifying the wiring. On newer LiftMaster and Chamberlain units, the wall console carries both low-voltage control signal and a safety lock function. Plain doorbell wire wiring will not work, and crossing the wrong wires on the logic board terminal strip can damage the board.
- Assuming all garage door companies are the same price. In Mira Mesa, a specialist who stocks multiple brands and carries parts on the truck can charge less for a repair than a generalist who has to order parts and come back. The branded part matters: a Clopay door with a Wayne Dalton spring is a mismatch that will affect balance and longevity. We work on the brand you already have, and we carry the right parts for it.
When to Call a Professional
If your door has a broken or visibly corroded torsion spring, call a professional. If your lift cable has snapped or frayed through more than half its strands, call a professional. If your door is heavy to lift, binding in the track, or slamming down when closing, call a professional. If your opener trips a breaker, makes a burning smell, or the wall console stops responding entirely, call a professional. The pattern is consistent: when stored energy or structural load is the variable, the risk-adjusted path is a specialist. Garage Door Opener Repair in Mira Mesa covers electronic faults, while mechanical spring and cable work falls under general Garage Door Installation in Mira Mesa specialist capabilities. Garage Door Repair Mira Mesa home offers free estimates in Mira Mesa. Call (833) 620-4120 and describe your symptoms using the framework above, and we’ll give you an honest read on what’s DIY-safe and what isn’t.
Frequently Asked Questions
A single torsion spring replacement in Mira Mesa typically costs $180 to $340 including parts and labor, while a pair runs $300 to $500 depending on door size and spring rating. The price is quoted and agreed before any work starts, and we carry common spring sizes on the truck for same-day completion in most Mira Mesa neighborhoods. Call (833) 620-4120 for an exact quote based on your door model and spring specifications.
You can, but you shouldn’t, and the reasons go beyond the standard warning label. The task requires calibrated winding bars, a second person for the winding sequence, and correct spring specifications. The failure mode is energy release in under a millisecond, which is why the risk-adjusted economics don’t work out for a first-timer. The savings ceiling is around $200 against a tail-risk outcome that includes serious hand and facial injuries.
Bottom seal and weatherstripping replacement, hinge and roller lubrication, roller replacement on extension-spring doors, and opener travel limit resets are all realistic DIY tasks with manageable failure modes. These tasks involve wear components that are visually accessible and don’t require entering the spring tension system. A step ladder, basic hand tools, and the right lubricant cover most of them.
Twice a year, typically before summer and before the winter rainy season, which matches Mira Mesa’s highest-temperature and highest-moisture periods respectively. Use white lithium grease on hinge pivots and silicone spray on rollers and springs. Skipping lubrication leads to noisy, worn roller bearings and accelerated hinge wear, particularly on the original steel rollers found on many older Mira Mesa homes.
Pull the emergency release cord and lift the door by hand. If the door lifts smoothly, balances half-open, and closes without slamming, the door is fine and the issue is the opener. If the door is heavy, drops, binds, or feels uneven, the problem is in the springs, cables, or tracks, not the opener. This 30-second test is the single most useful diagnostic step before calling a technician.
No, the price is agreed before work begins, based on the symptom description you provide and the visual confirmation on arrival. For most common repairs like spring replacement, roller replacement, and opener gear replacement, we can quote accurately on the phone if you describe the symptoms as outlined in this guide. For Garage Door Installation in Mira Mesa projects, we provide a written estimate after measuring your door opening, and that number doesn’t shift unless you change the scope. Call (833) 620-4120 for a free estimate, and the price you’re quoted is the price you’ll see on the invoice.
The Bottom Line
The DIY-versus-professional garage door decision isn’t a simple “springs are dangerous” rule. It’s an assessment of failure modes: tasks with cosmetic or wear-item failure modes are genuinely DIY-friendly, while tasks with energy-release or structural-load failure modes are professional territory. Mira Mesa homeowners who understand this framework save money on the right DIY tasks and avoid hospital trips on the wrong ones. Replace the bottom seal yourself. Lubricate twice a year. Reset the travel limits if the door is closing oddly. For more guides & resources on keeping your door running smoothly, explore our blog. But when a torsion spring snaps, a cable frays under tension, or the track pulls loose with the door under load, call a specialist who works on the brand you already have and carries the right parts on the truck.
Written by the team at Garage Door Repair Mira Mesa, serving Mira Mesa since 2012.
See the difference
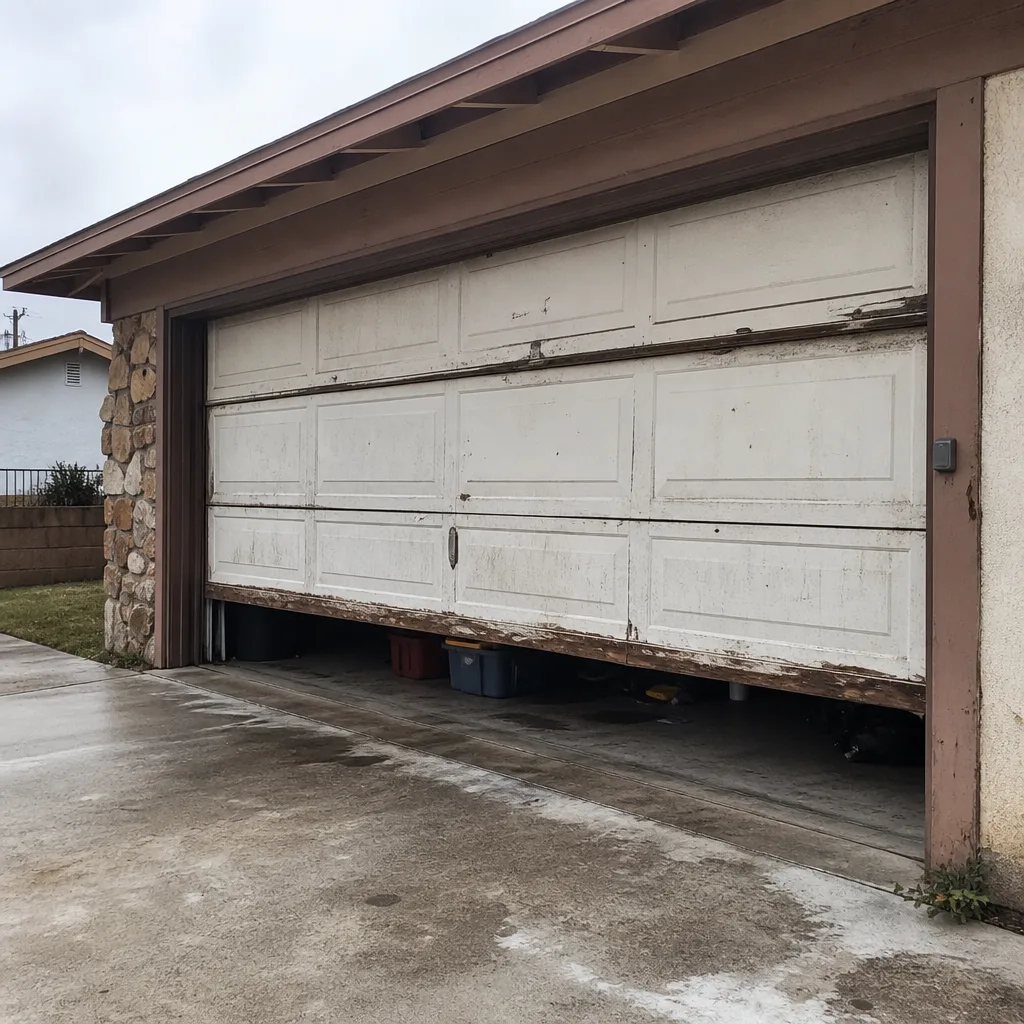 Before
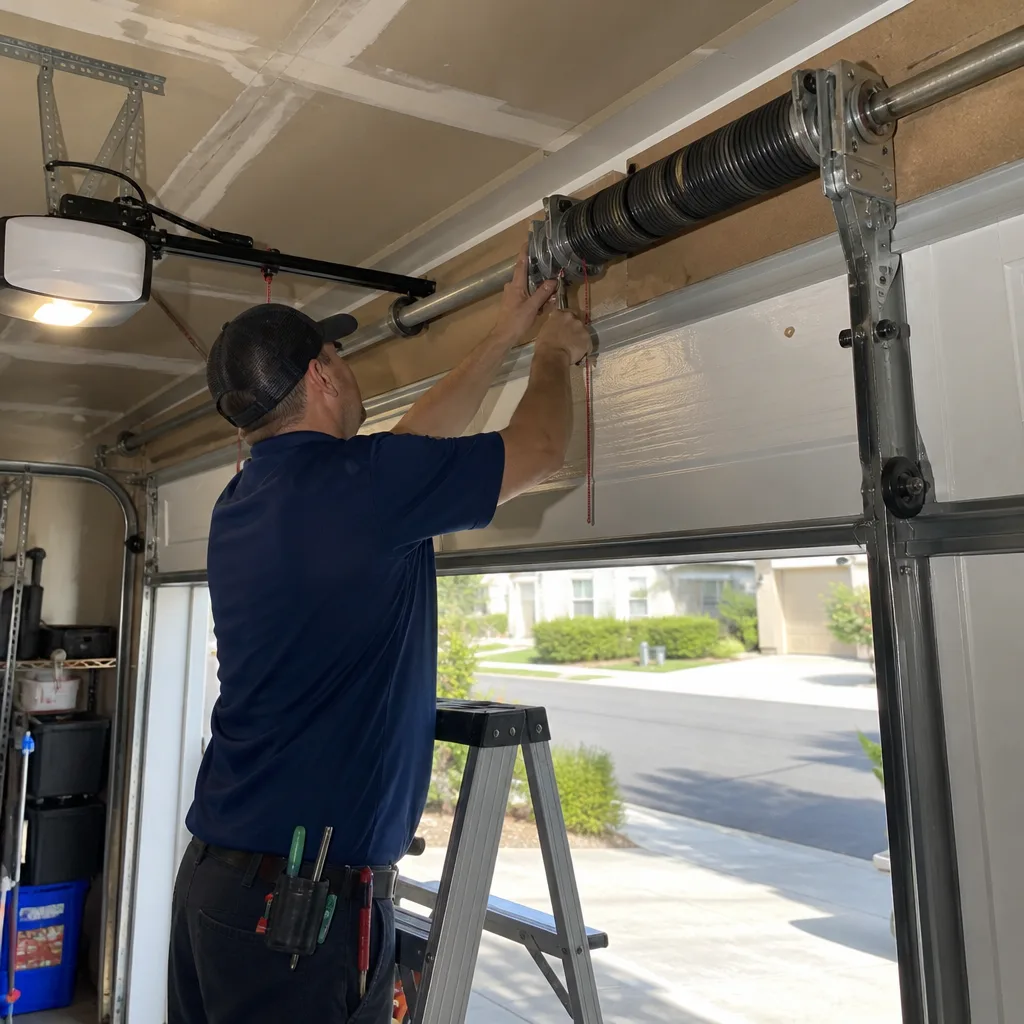 After
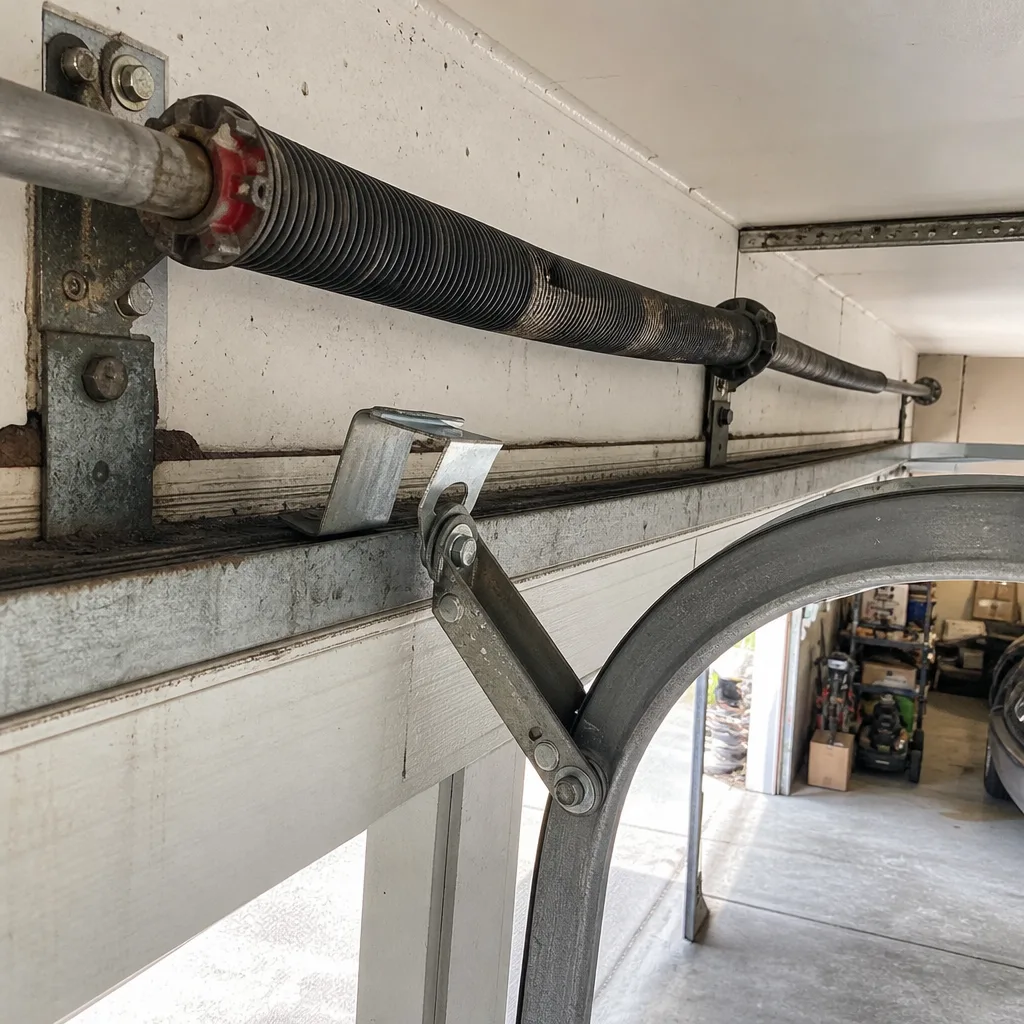 Before
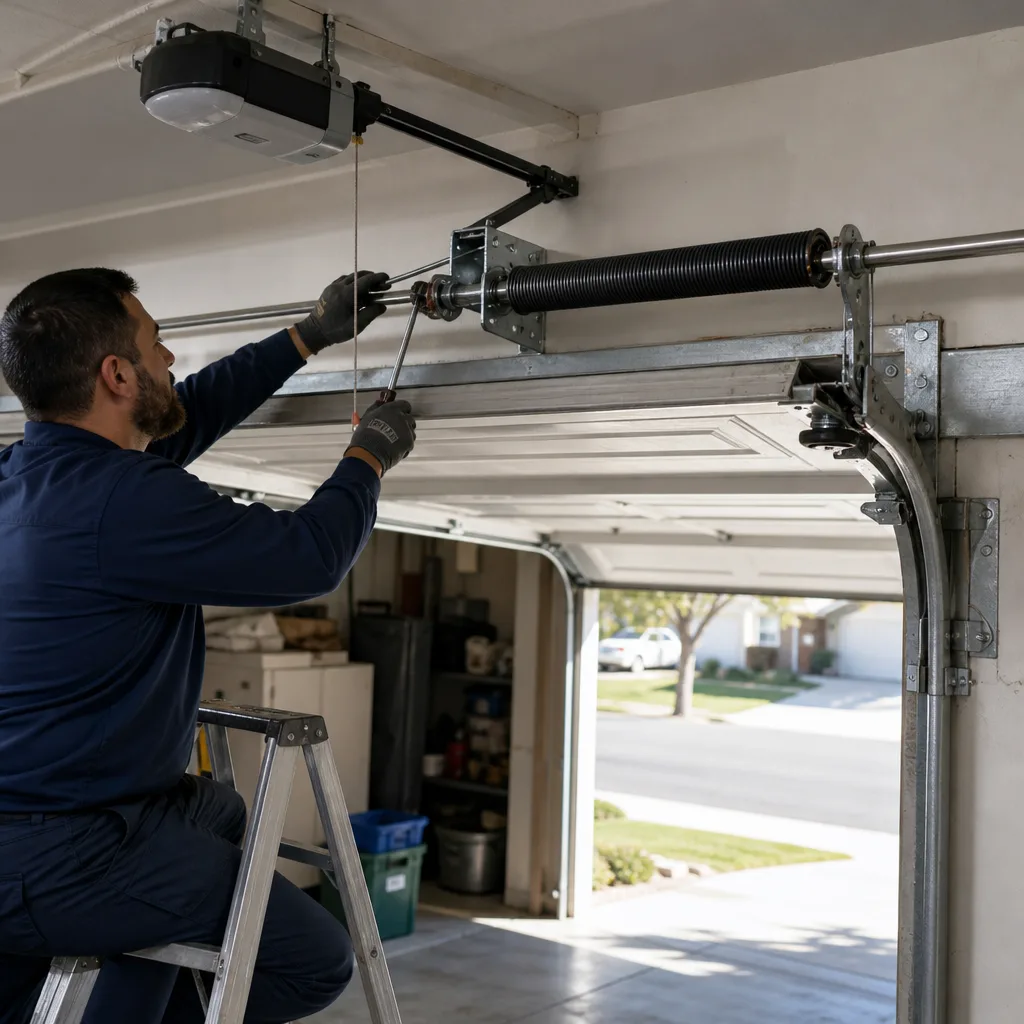 After
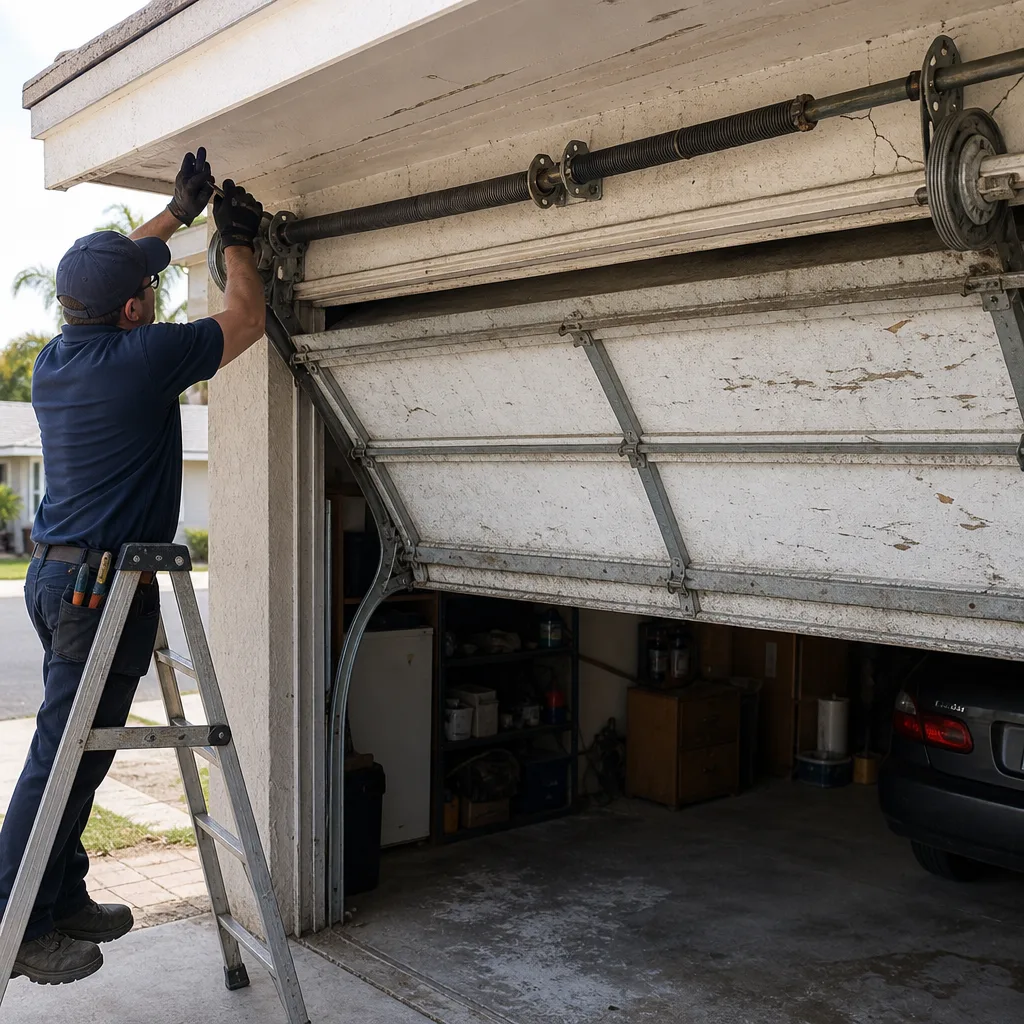 Before
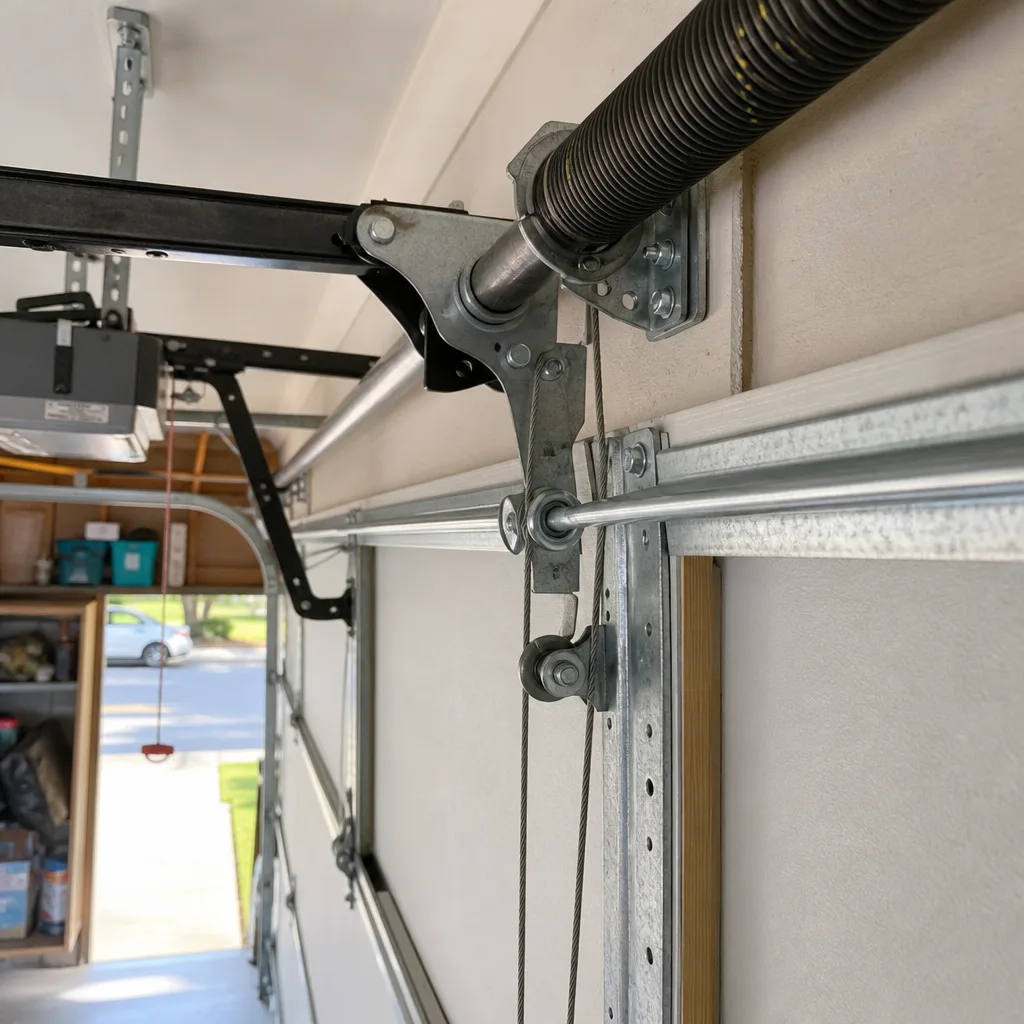 After